Jumio Portal - Single Sign-On Setup Guide with Okta
This document outlines the step-by-step process and key use cases for integrating SSO into the Jumio Portal using Okta.
Single Sign-On (SSO) is a technology that allows users to access multiple applications with a single set of login credentials. Instead of logging in separately to each SaaS application, users authenticate once through a unified login page, streamlining access and improving the user experience.
Prerequisites for SSO Integration with Okta
Customers using Okta as their Identity Provider (IDP) can enable Single Sign-On (SSO) for the Jumio Portal. To configure the IDP setup:
- You must log in to the Jumio Portal with a role that belongs to one of the following groups: ADMIN, KYX_ADMIN, or SUB_ADMIN.
- The Tenant ID is required for the configuration. It can be: -- Retrieved during the IDP connection setup at the tenant level, or -- Provided by the Jumio Support team upon request.
List of Steps
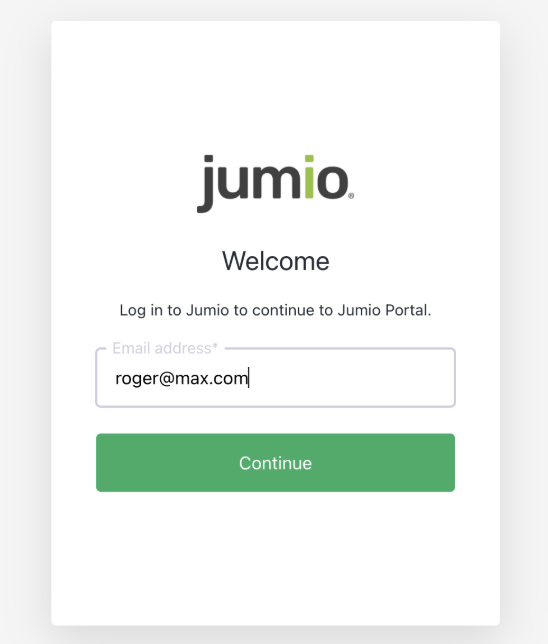
Step 1: Login to Jumio Portal.
Step 2: Go to Settings and select "IDP Management Page".
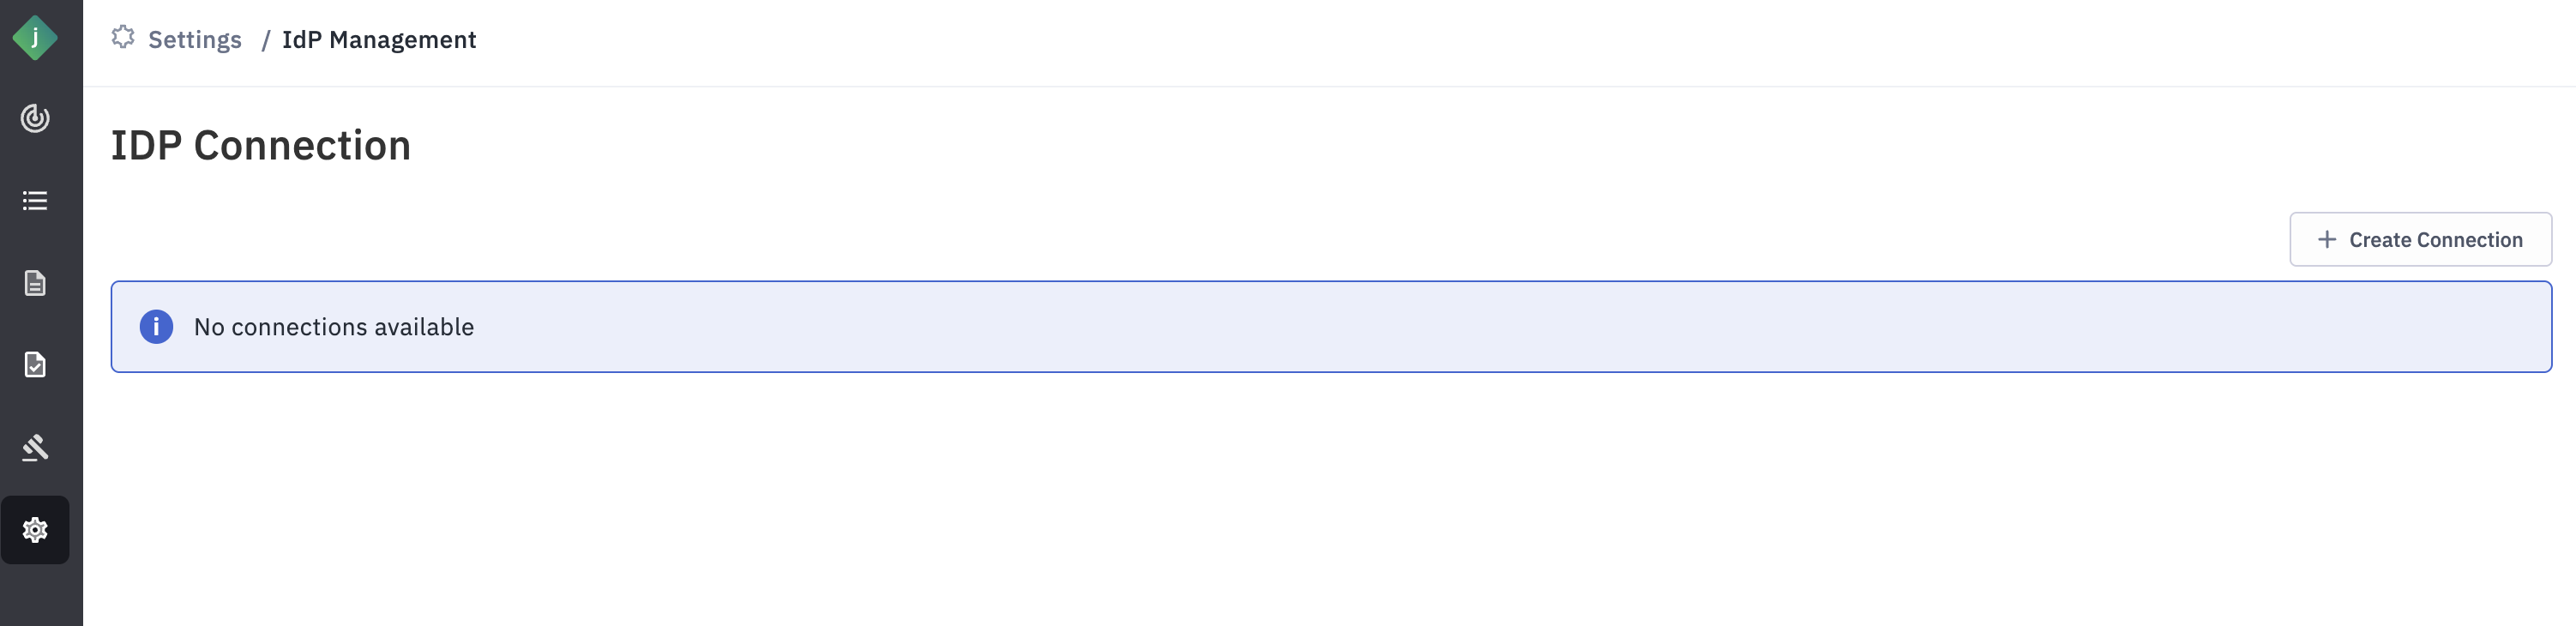
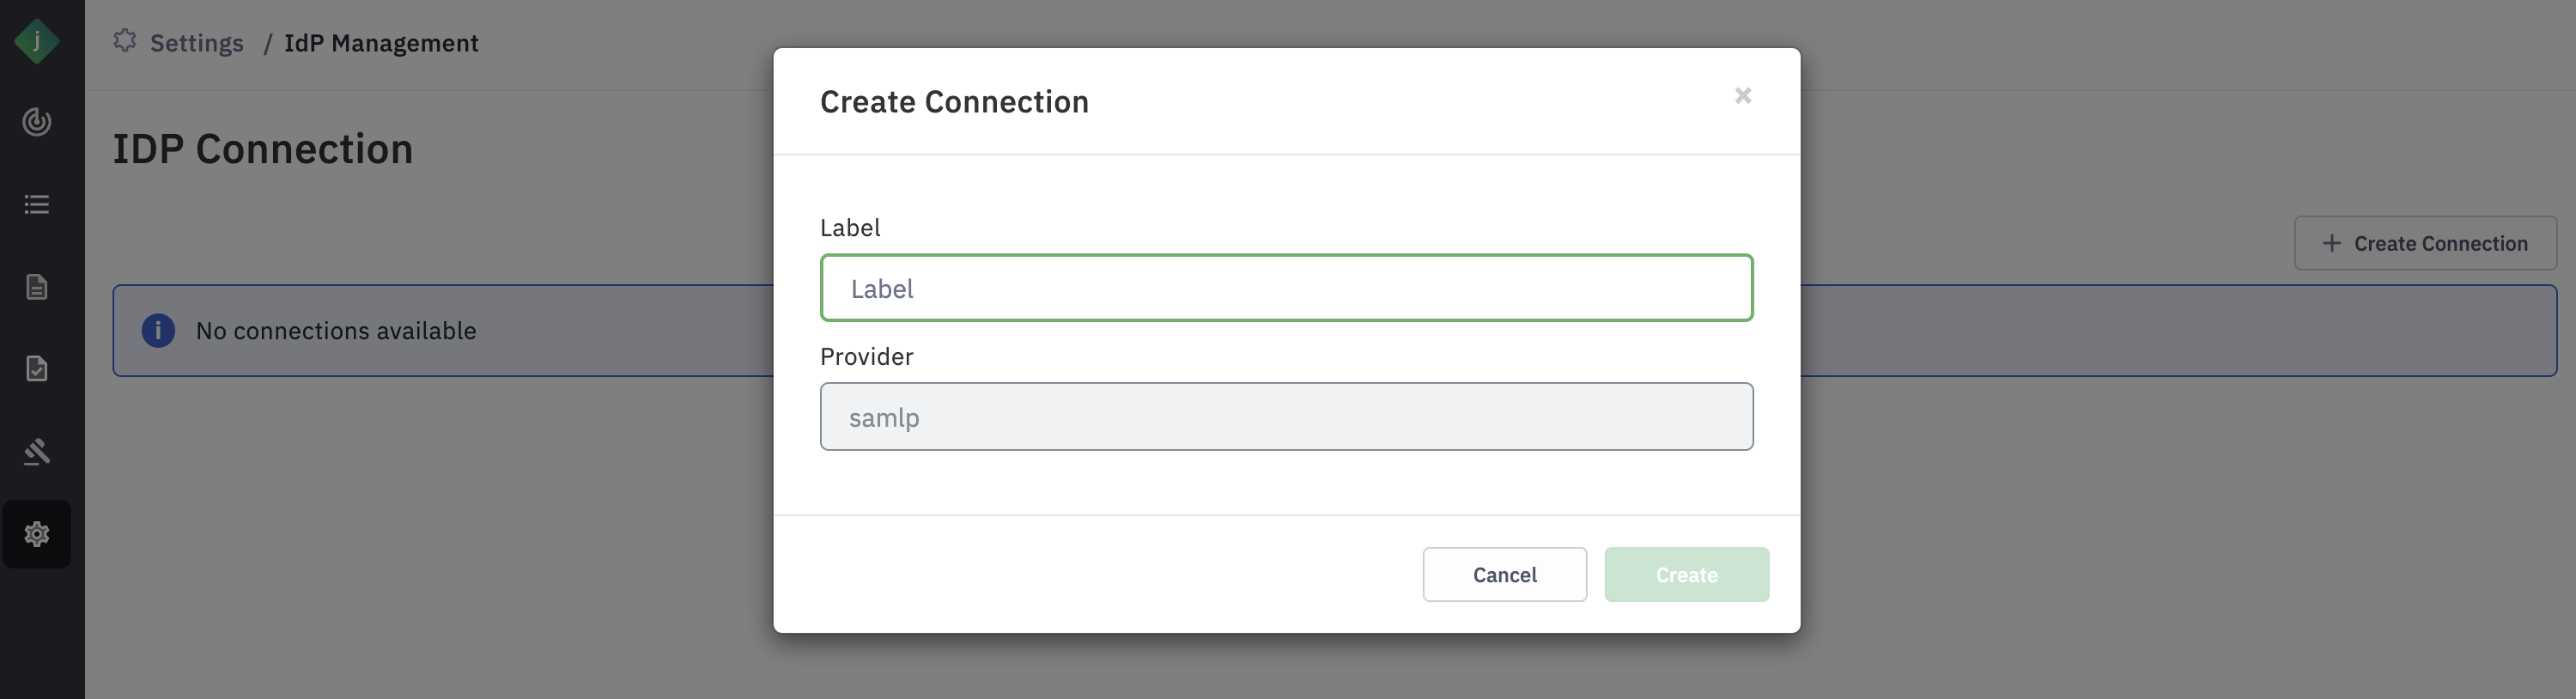
Step 3: Click “Create Connection”.
- Label: User-Defined Label for IDP Identification This label is used to identify the Identity Provider (IDP). For example, if an organization uses Okta as its IDP, you can set the label as "Okta". If the organization has multiple Okta IDPs and plans to integrate both, you can distinguish them with labels like "Okta1" and "Okta2".
- Provider: For Identity Providers (IDPs) using the SAML protocol, set the value to samlp.
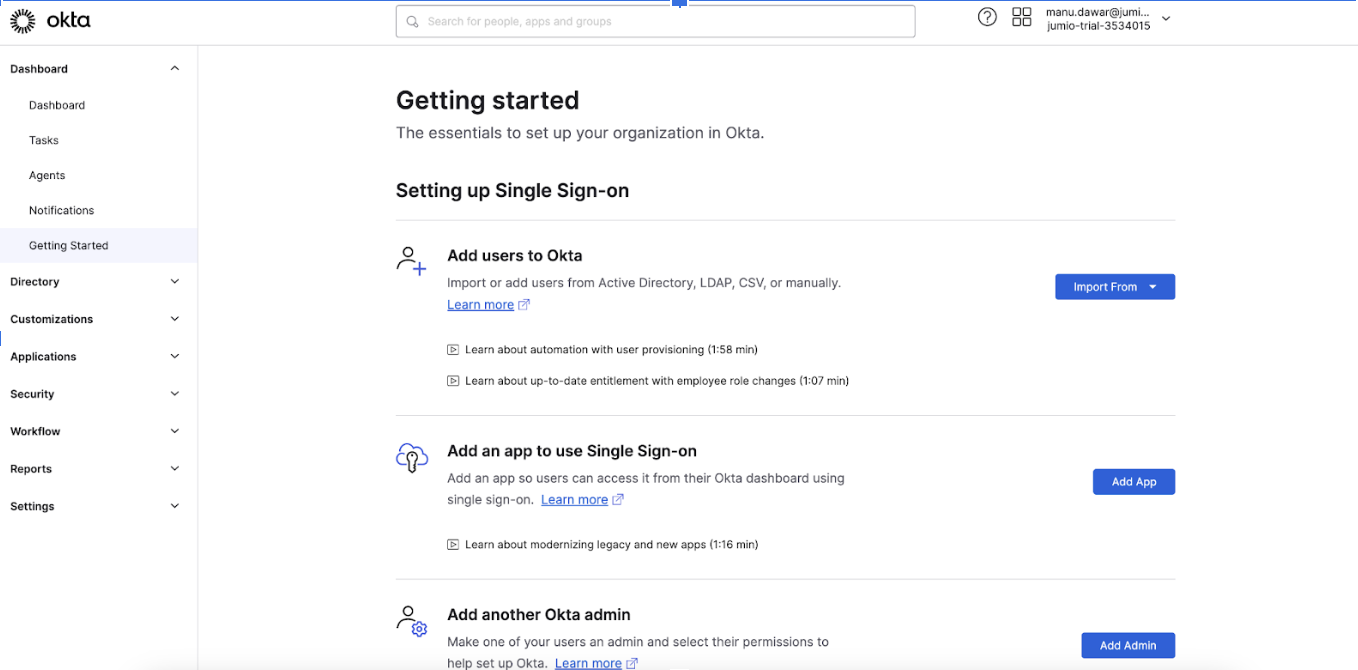
Step 4: Login to Okta as Admin
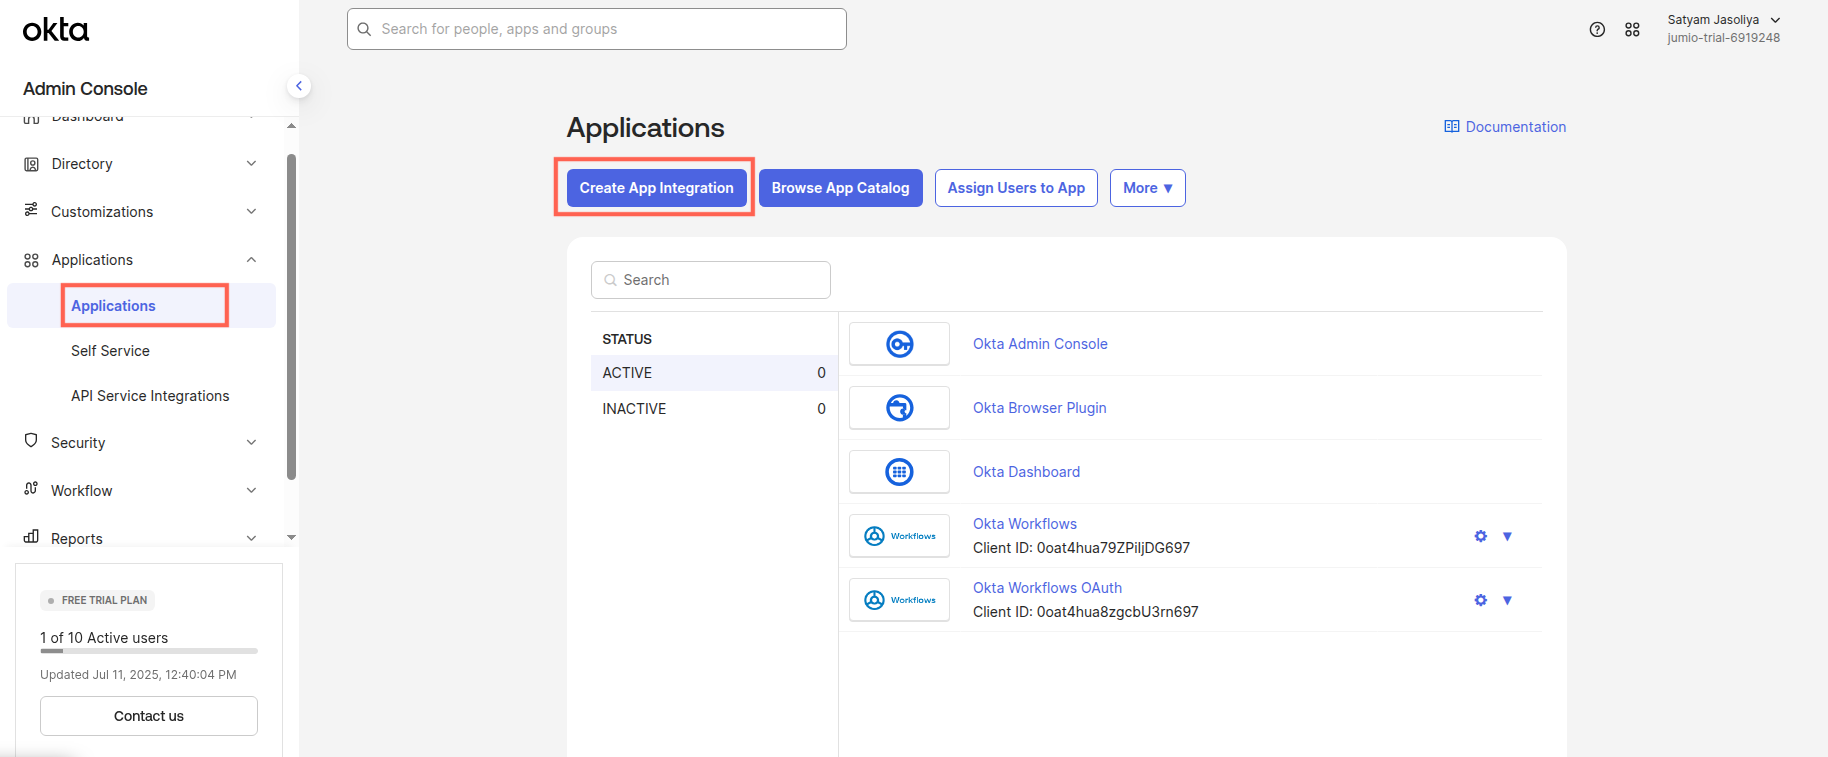
Step 5: Navigate to Applications and choose "Applications" from the drop-down, click "Create App Integration" button.
Step 6: You will see that the Create App Integration window is open.
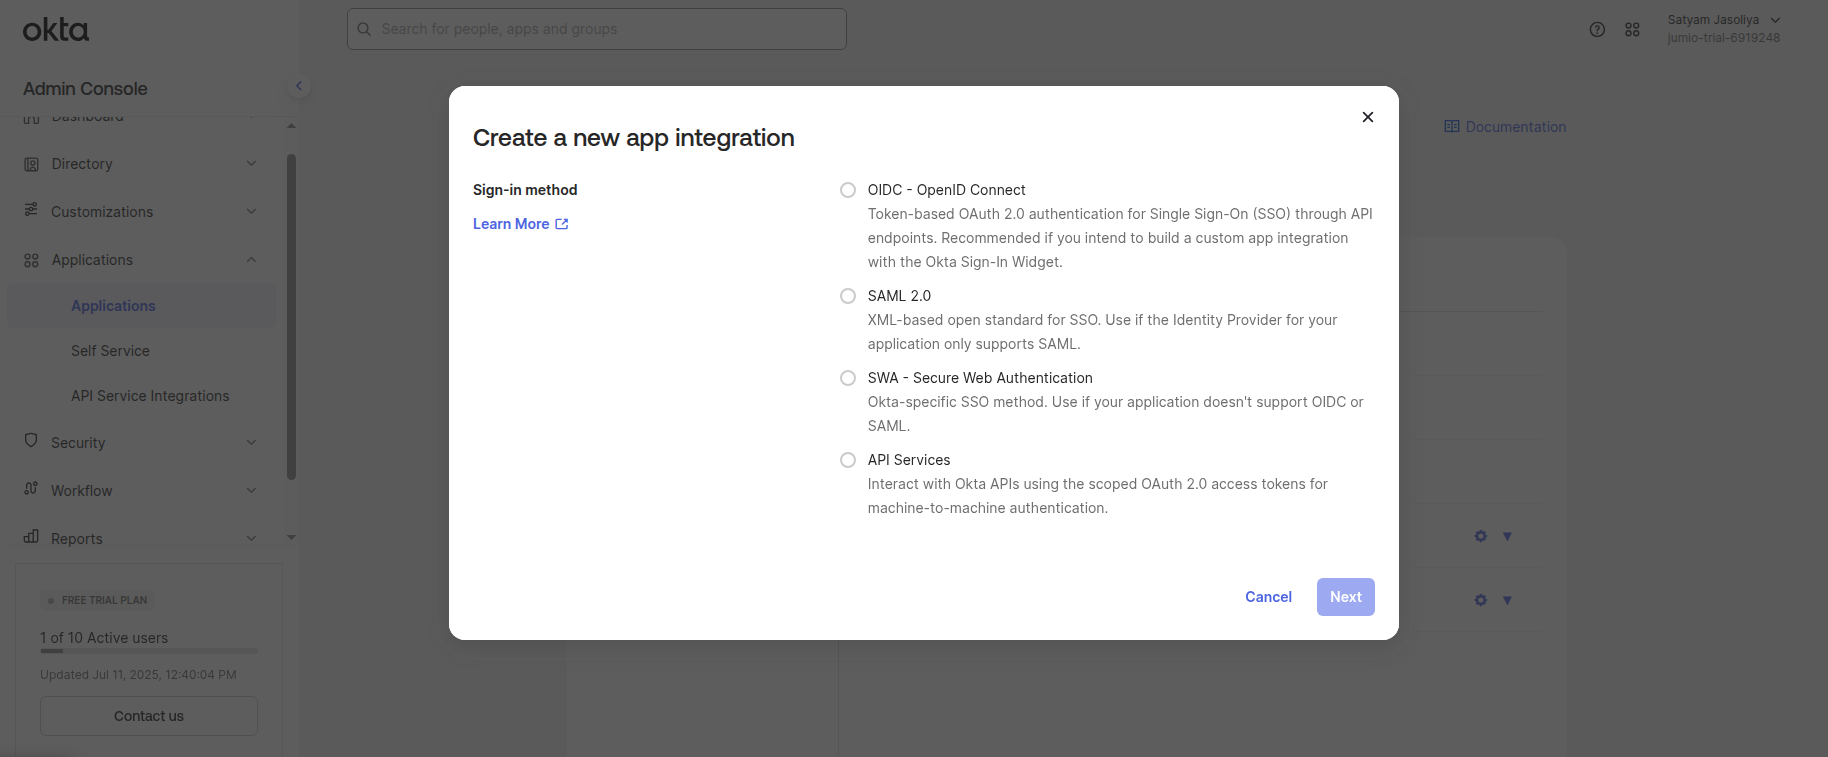
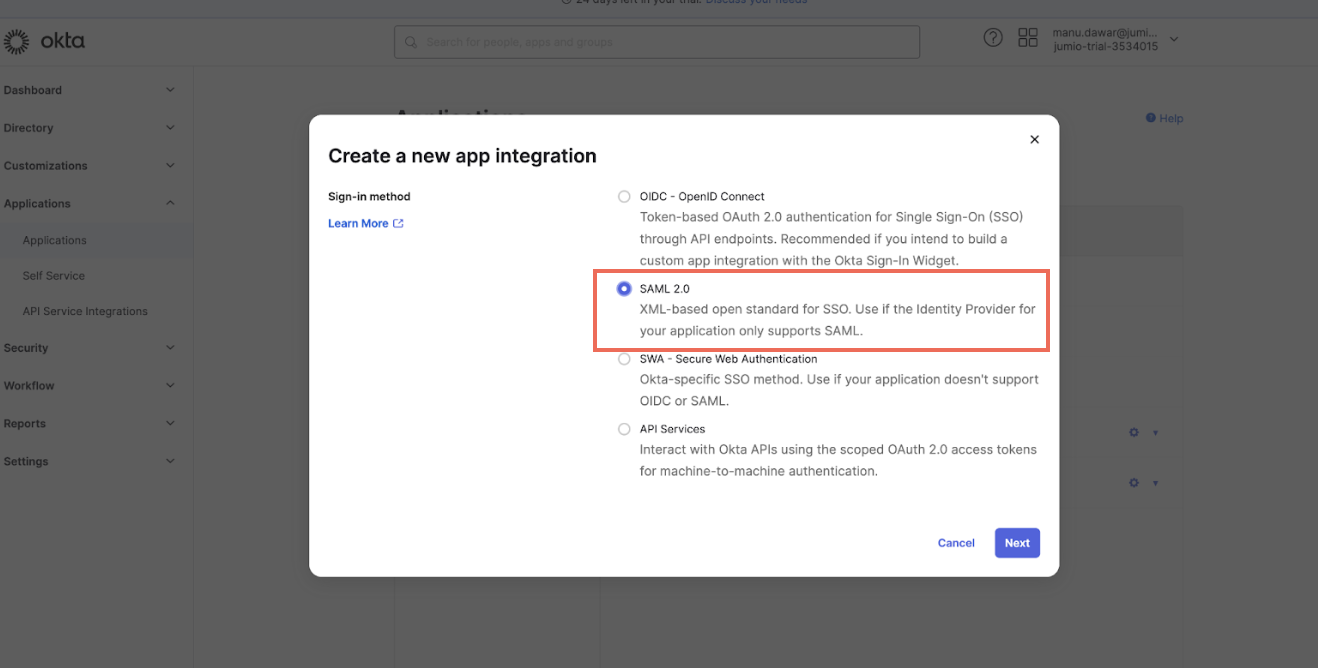
Step 7: Select the protocol as SAML 2.0 and, click Next.
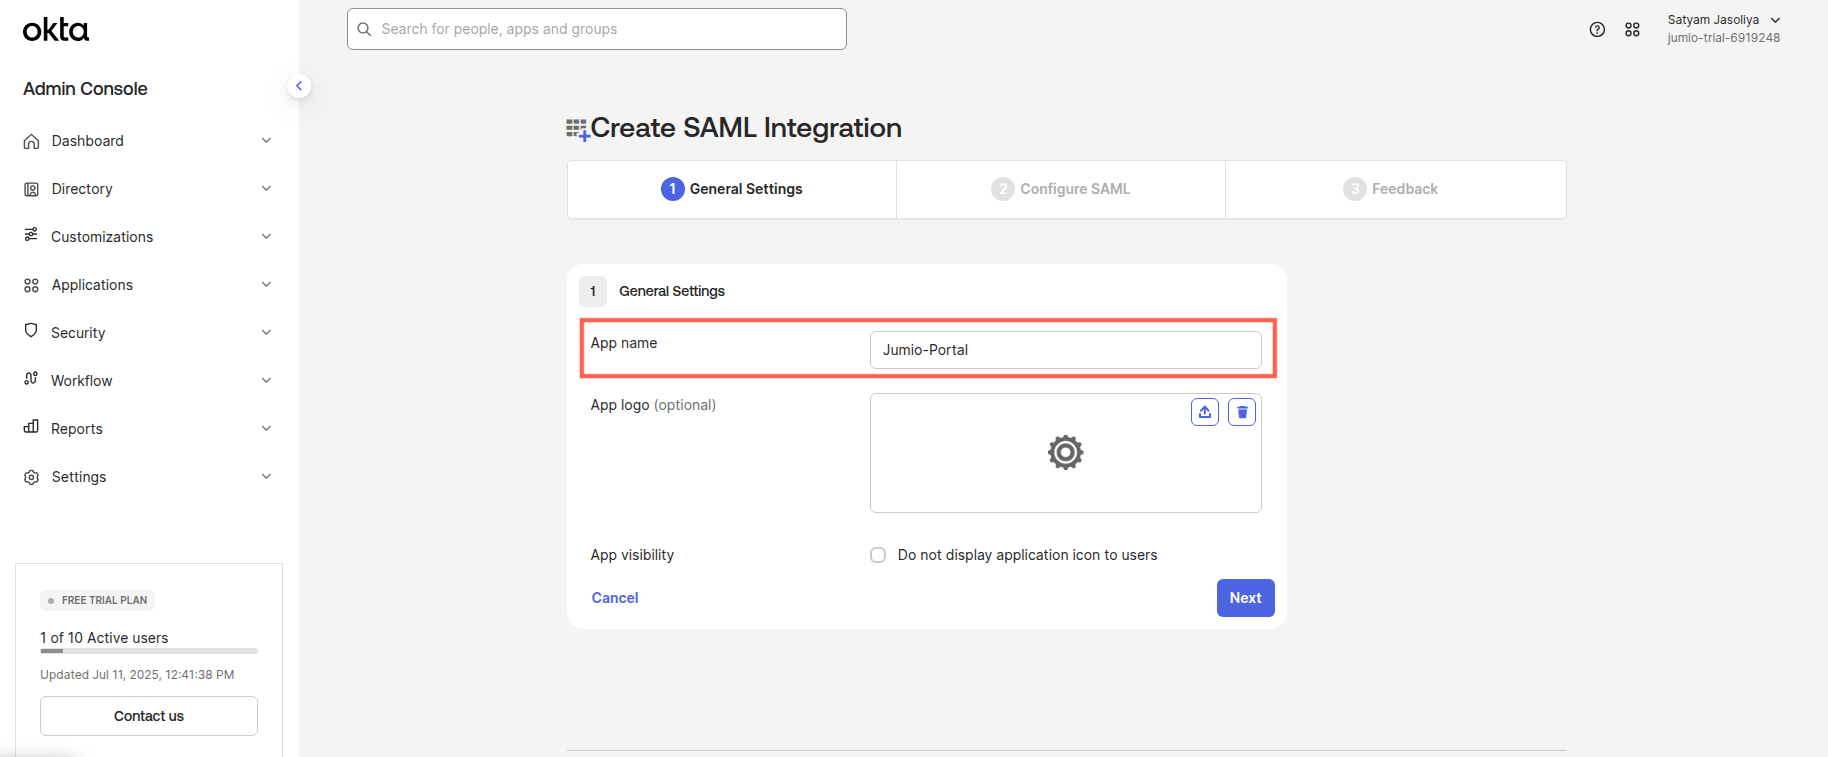
Step 8: Provide an app Name as per your convenience.
Upload the app logo (optional)
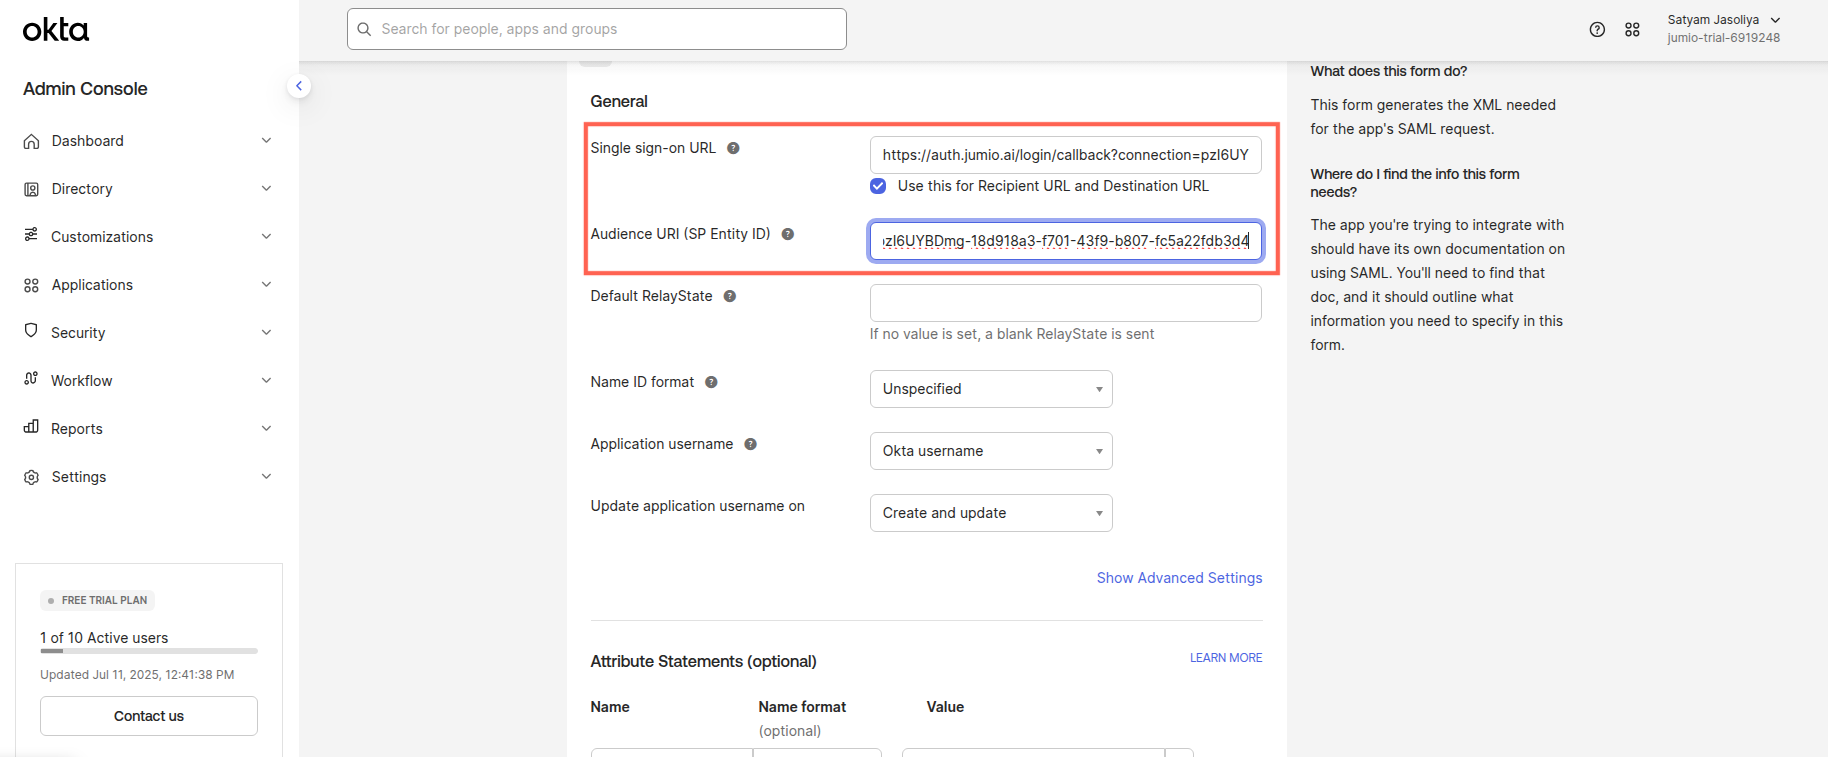
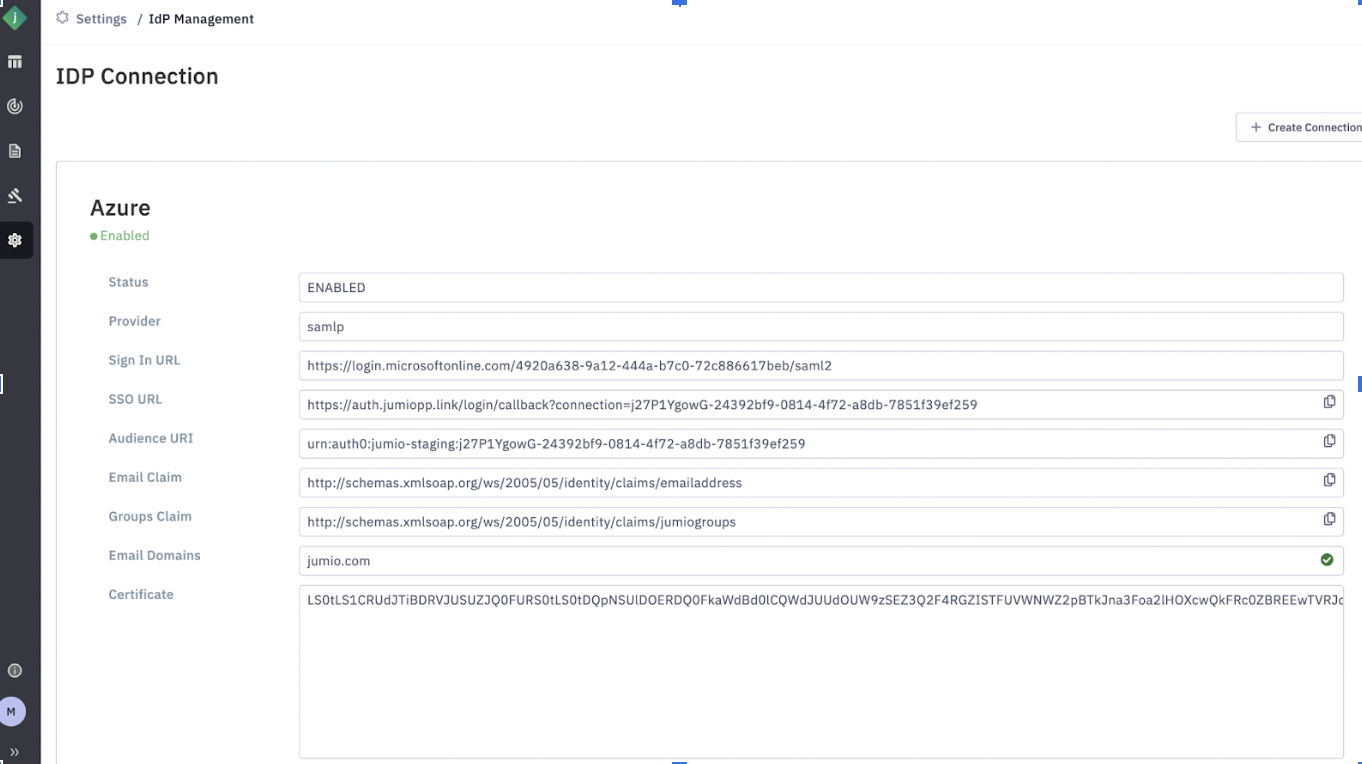
Step 9: Copy the SSO URL and Audience URI from the Jumio Portal, and paste them into the corresponding fields on the SAML settings page.
Specify the Name ID format similar to EmailAddress.
Step 10: Copy the “emailaddress” into OKTA SAML settings Attribute Statements “Name”
Set the Value dropdown to “user.email�” (needs to be manually typed in)
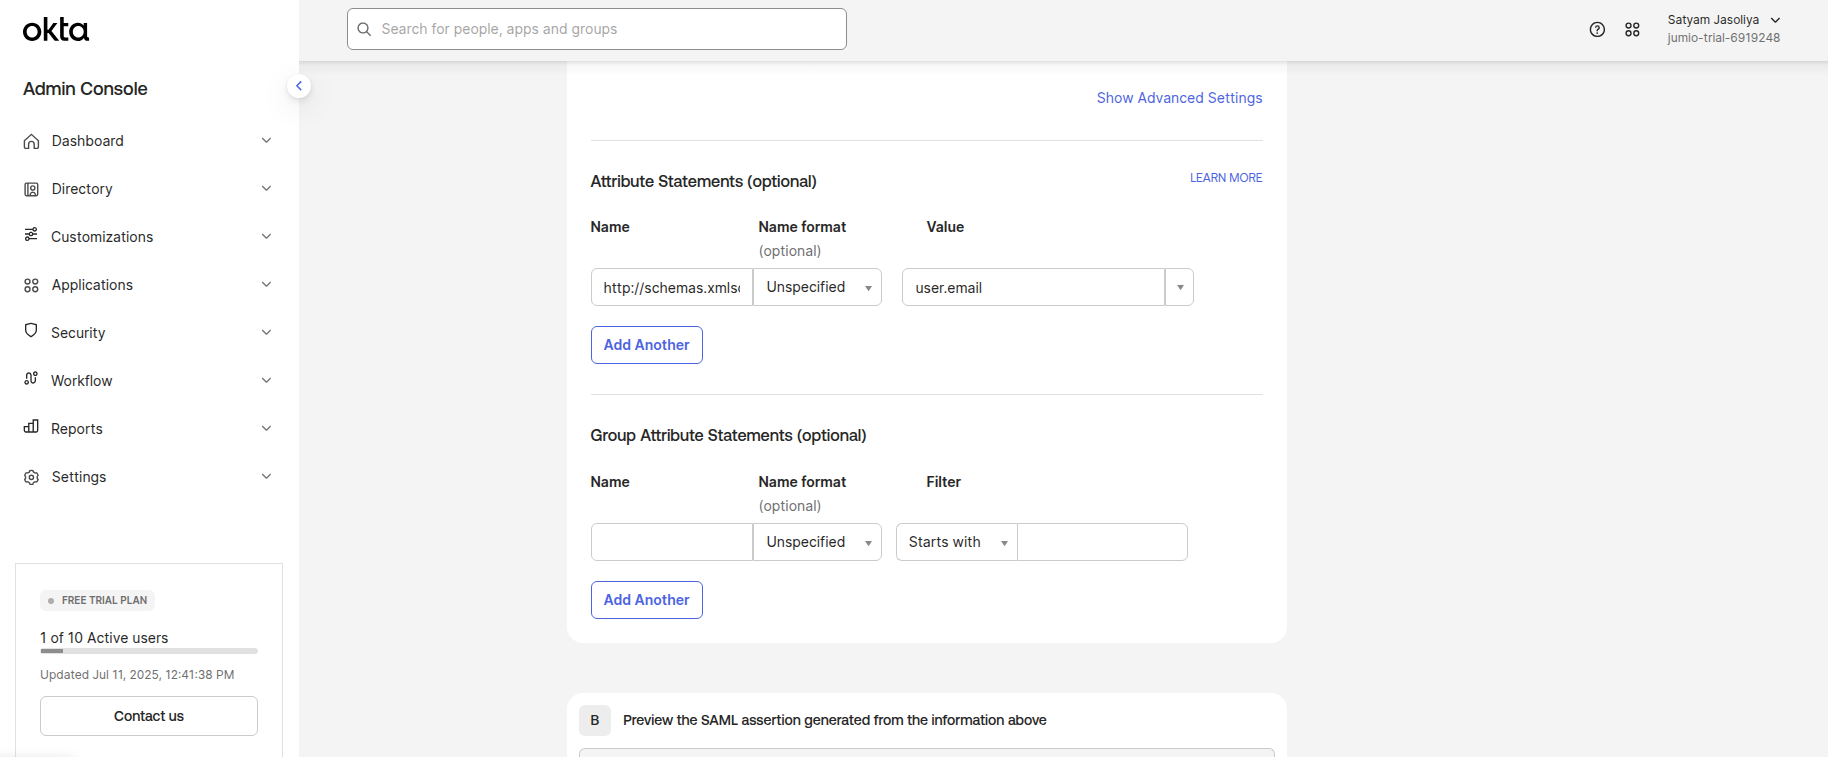
The Jumiogroups attribute is mandatory for user provisioning. Without its correct configuration, users cannot be assigned to a specific tenant or group.
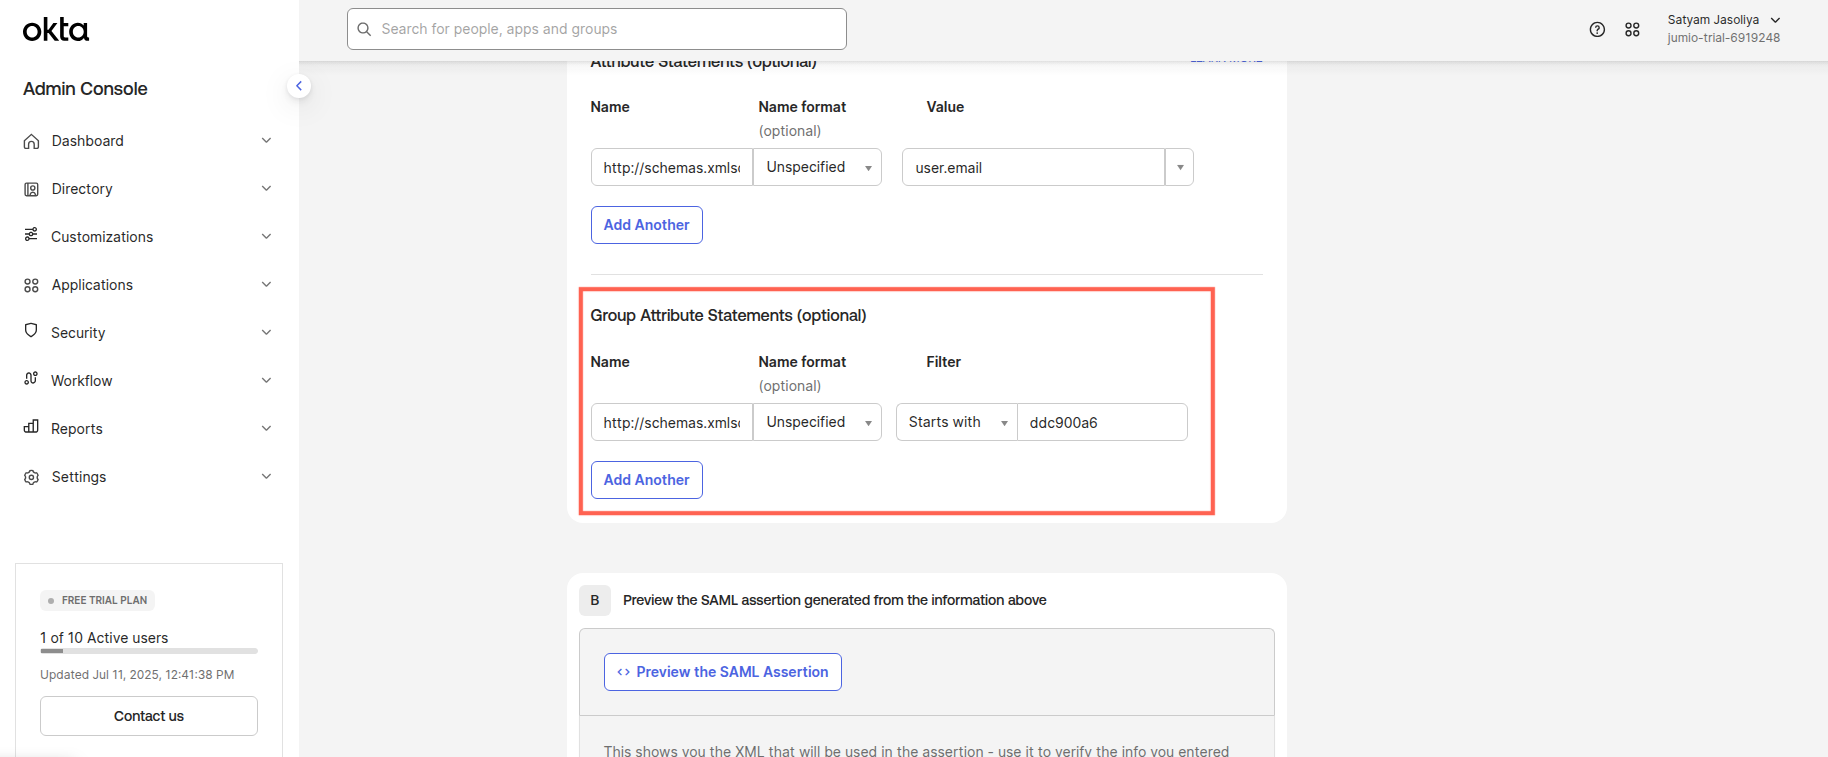
Step 11: Copy the “jumiogroups” Attribute State URLs from the Portal User Pool page and paste them into the Name field under Group Attribute Statements.
For the filter value, use a "Starts with" condition based on the initial characters of the Tenant ID. The Tenant ID can either be: Retrieved during the IDP connection setup (see Step 21), or Provided by the Jumio Support team.
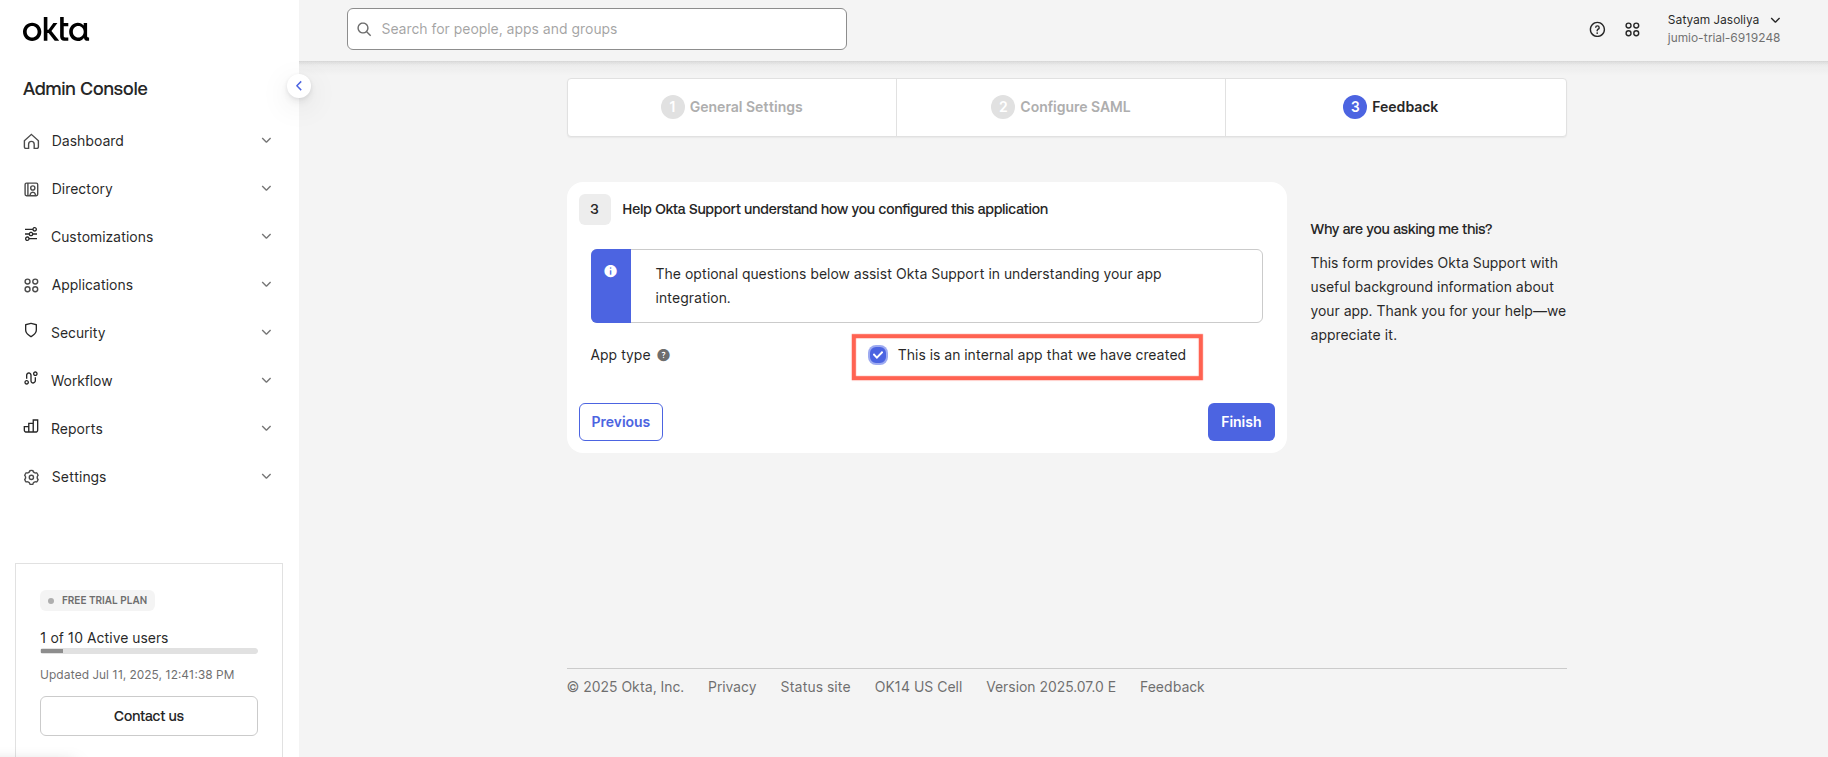
Step 12: Select “This is an internal app that we have created”.
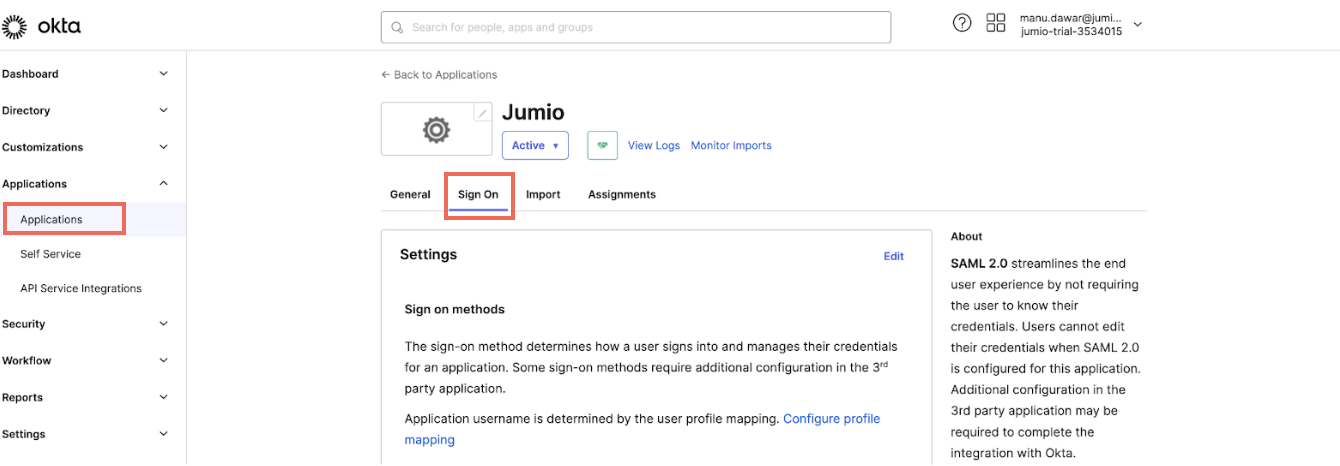
Step 13: Navigate to application configuration tab: Sign On
Step 14: Scroll down and click View SAML setup Instructions
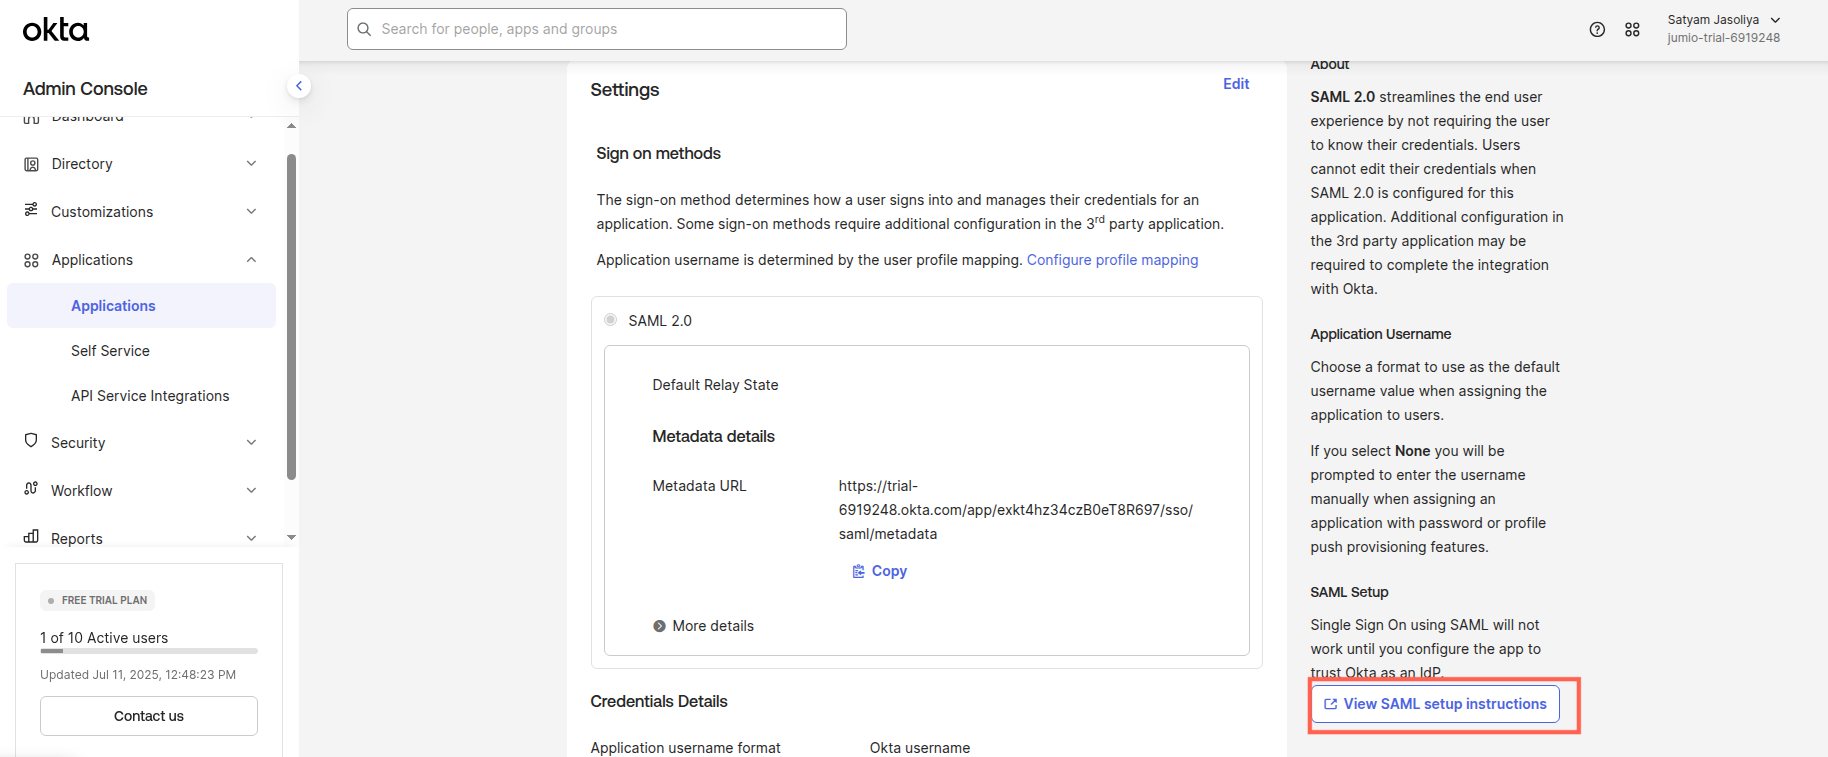
Step 15: You should be able to see Identity provider Single Sign-On URL and Certificate
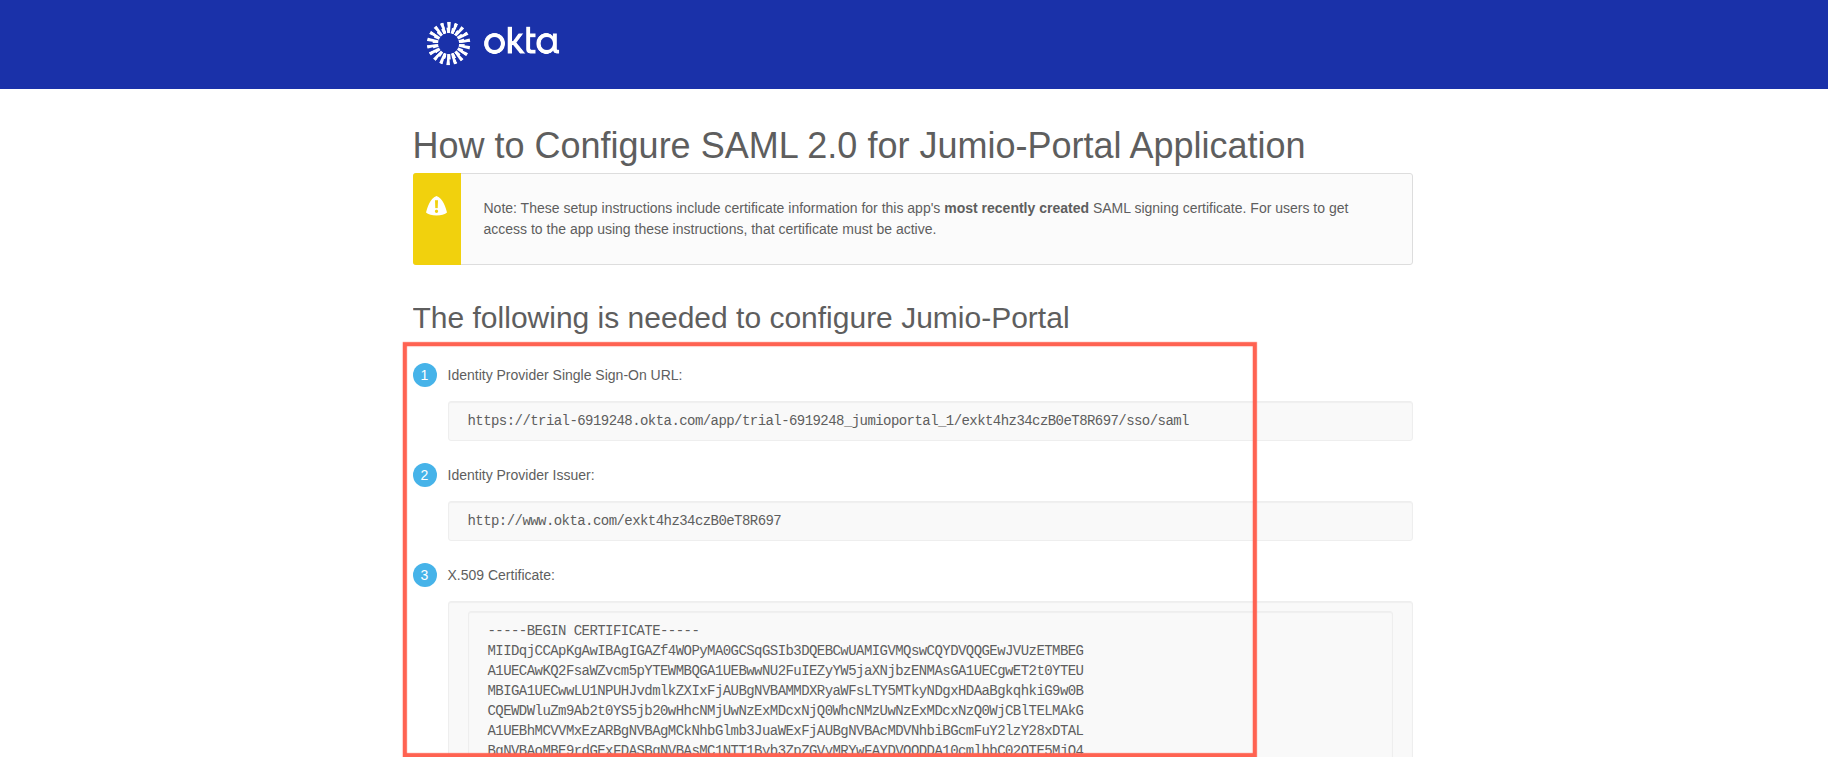
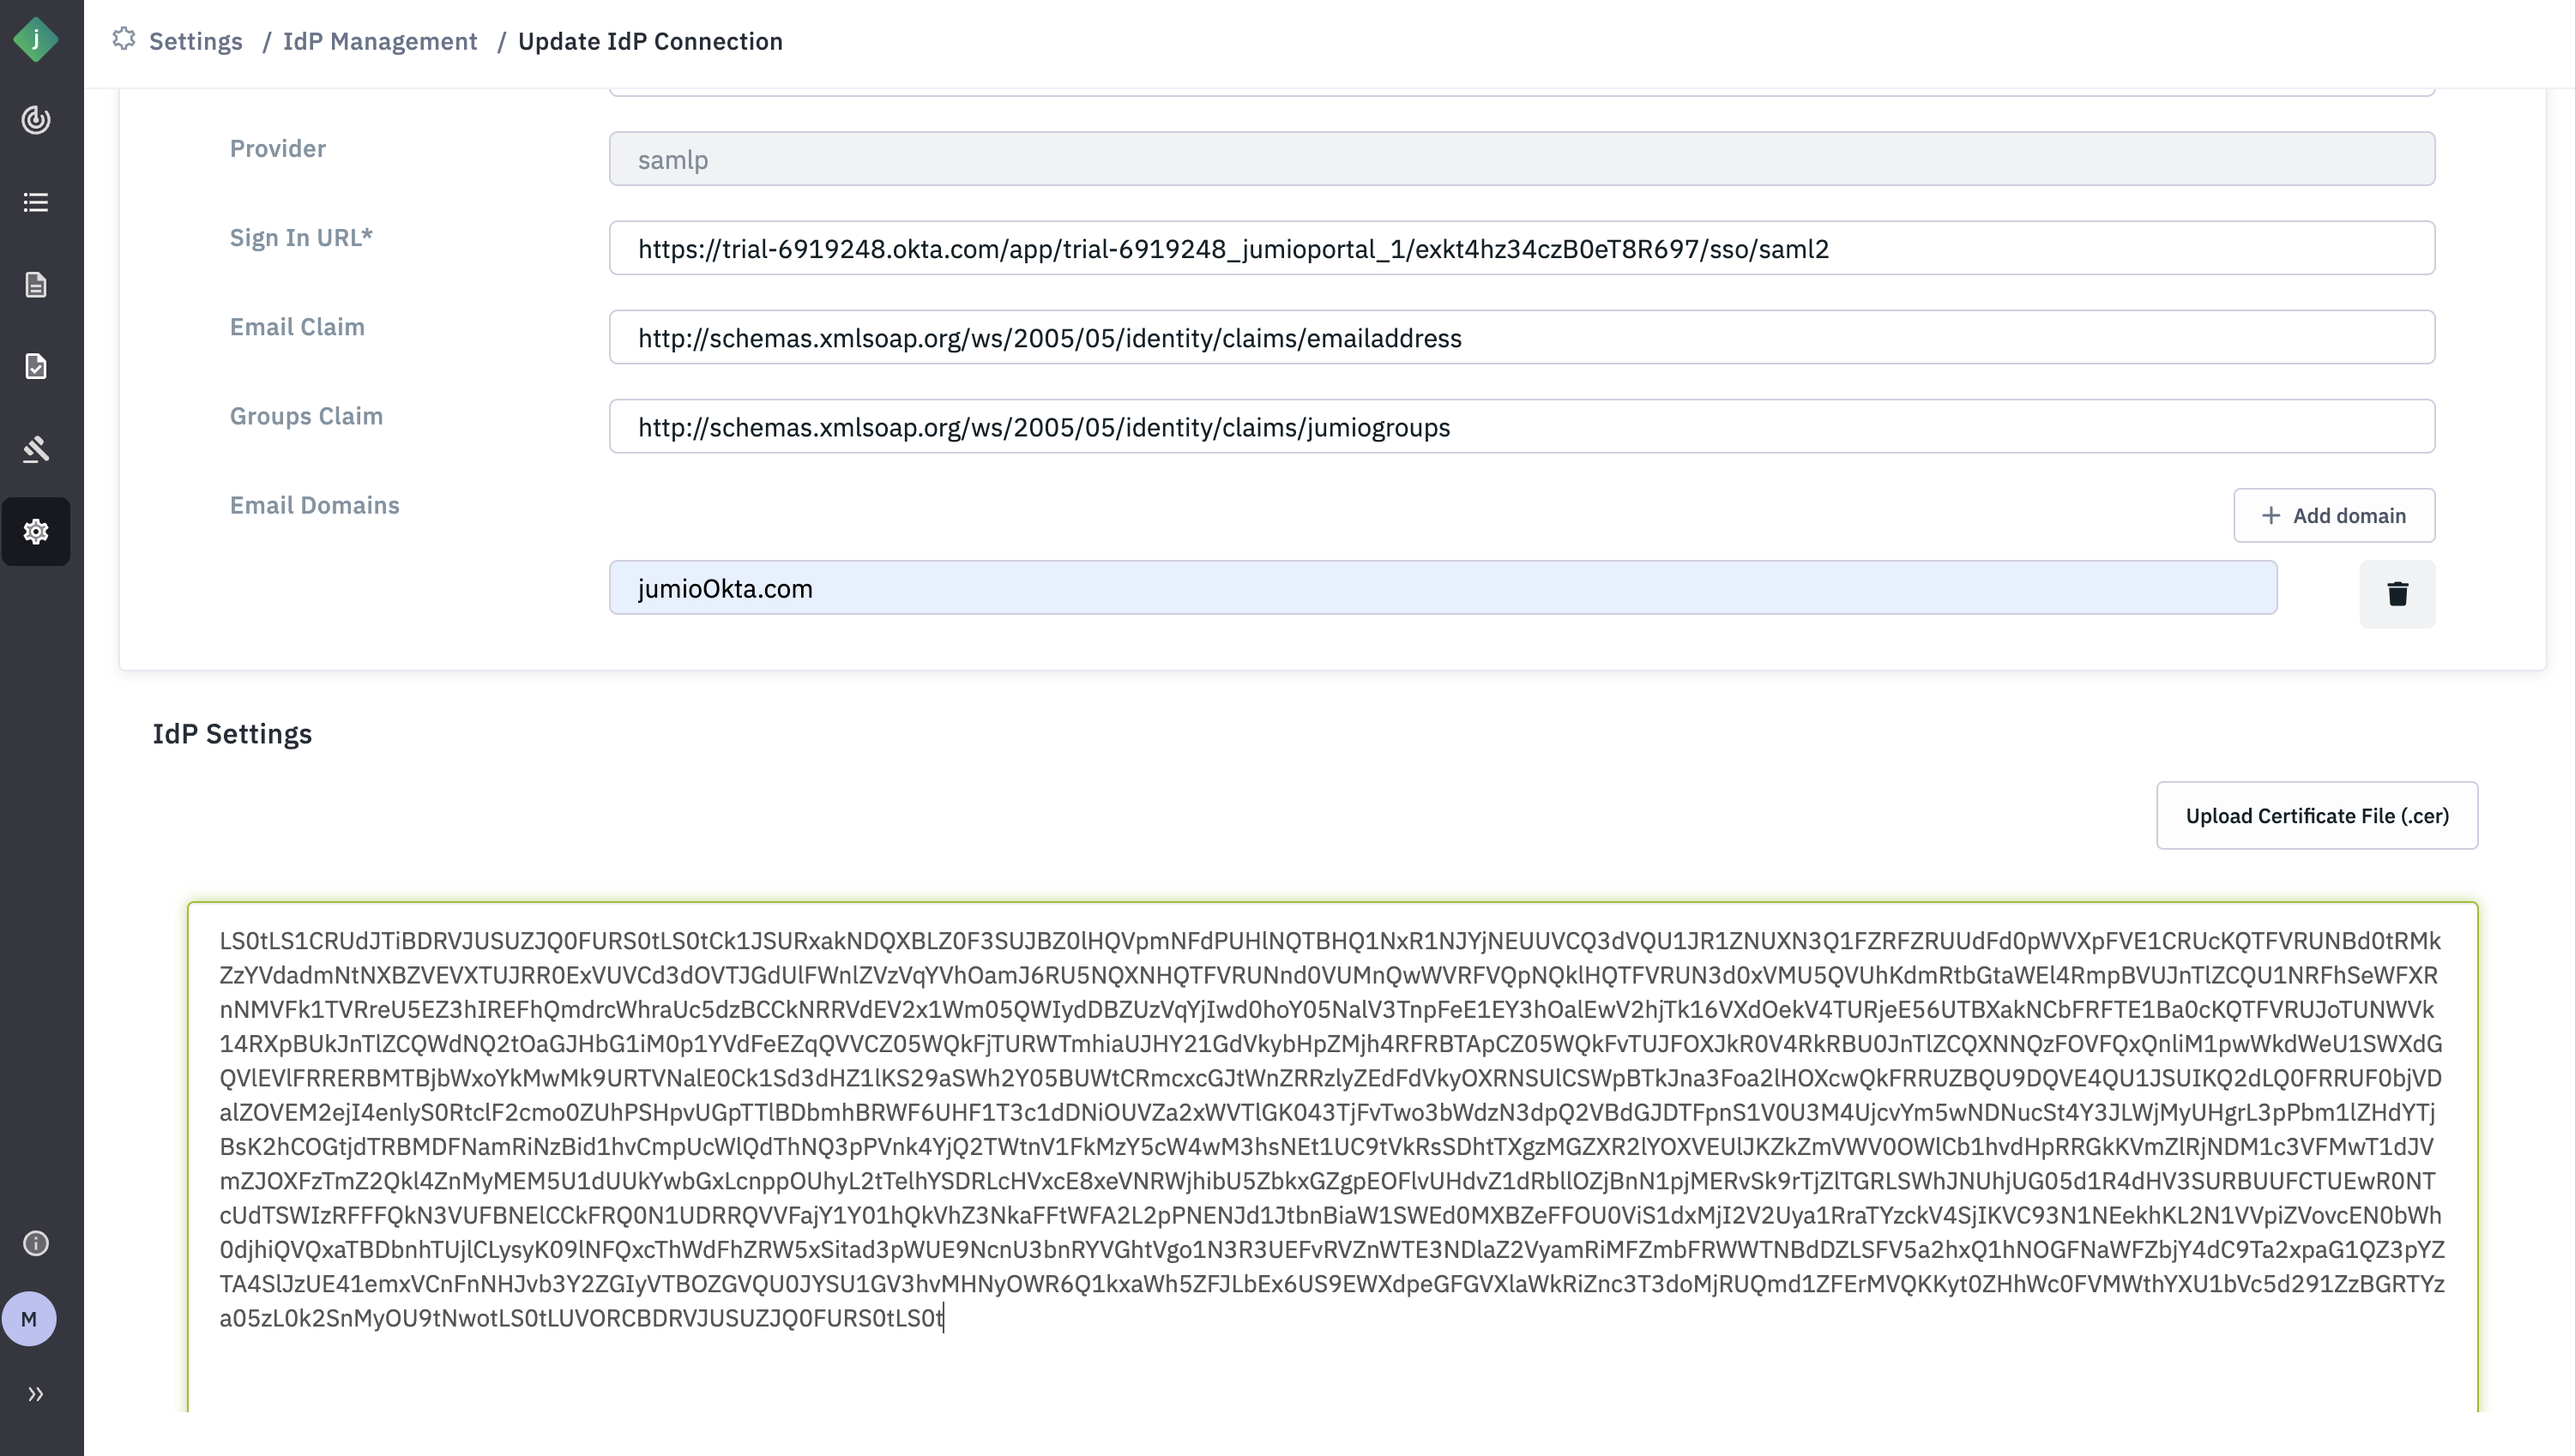
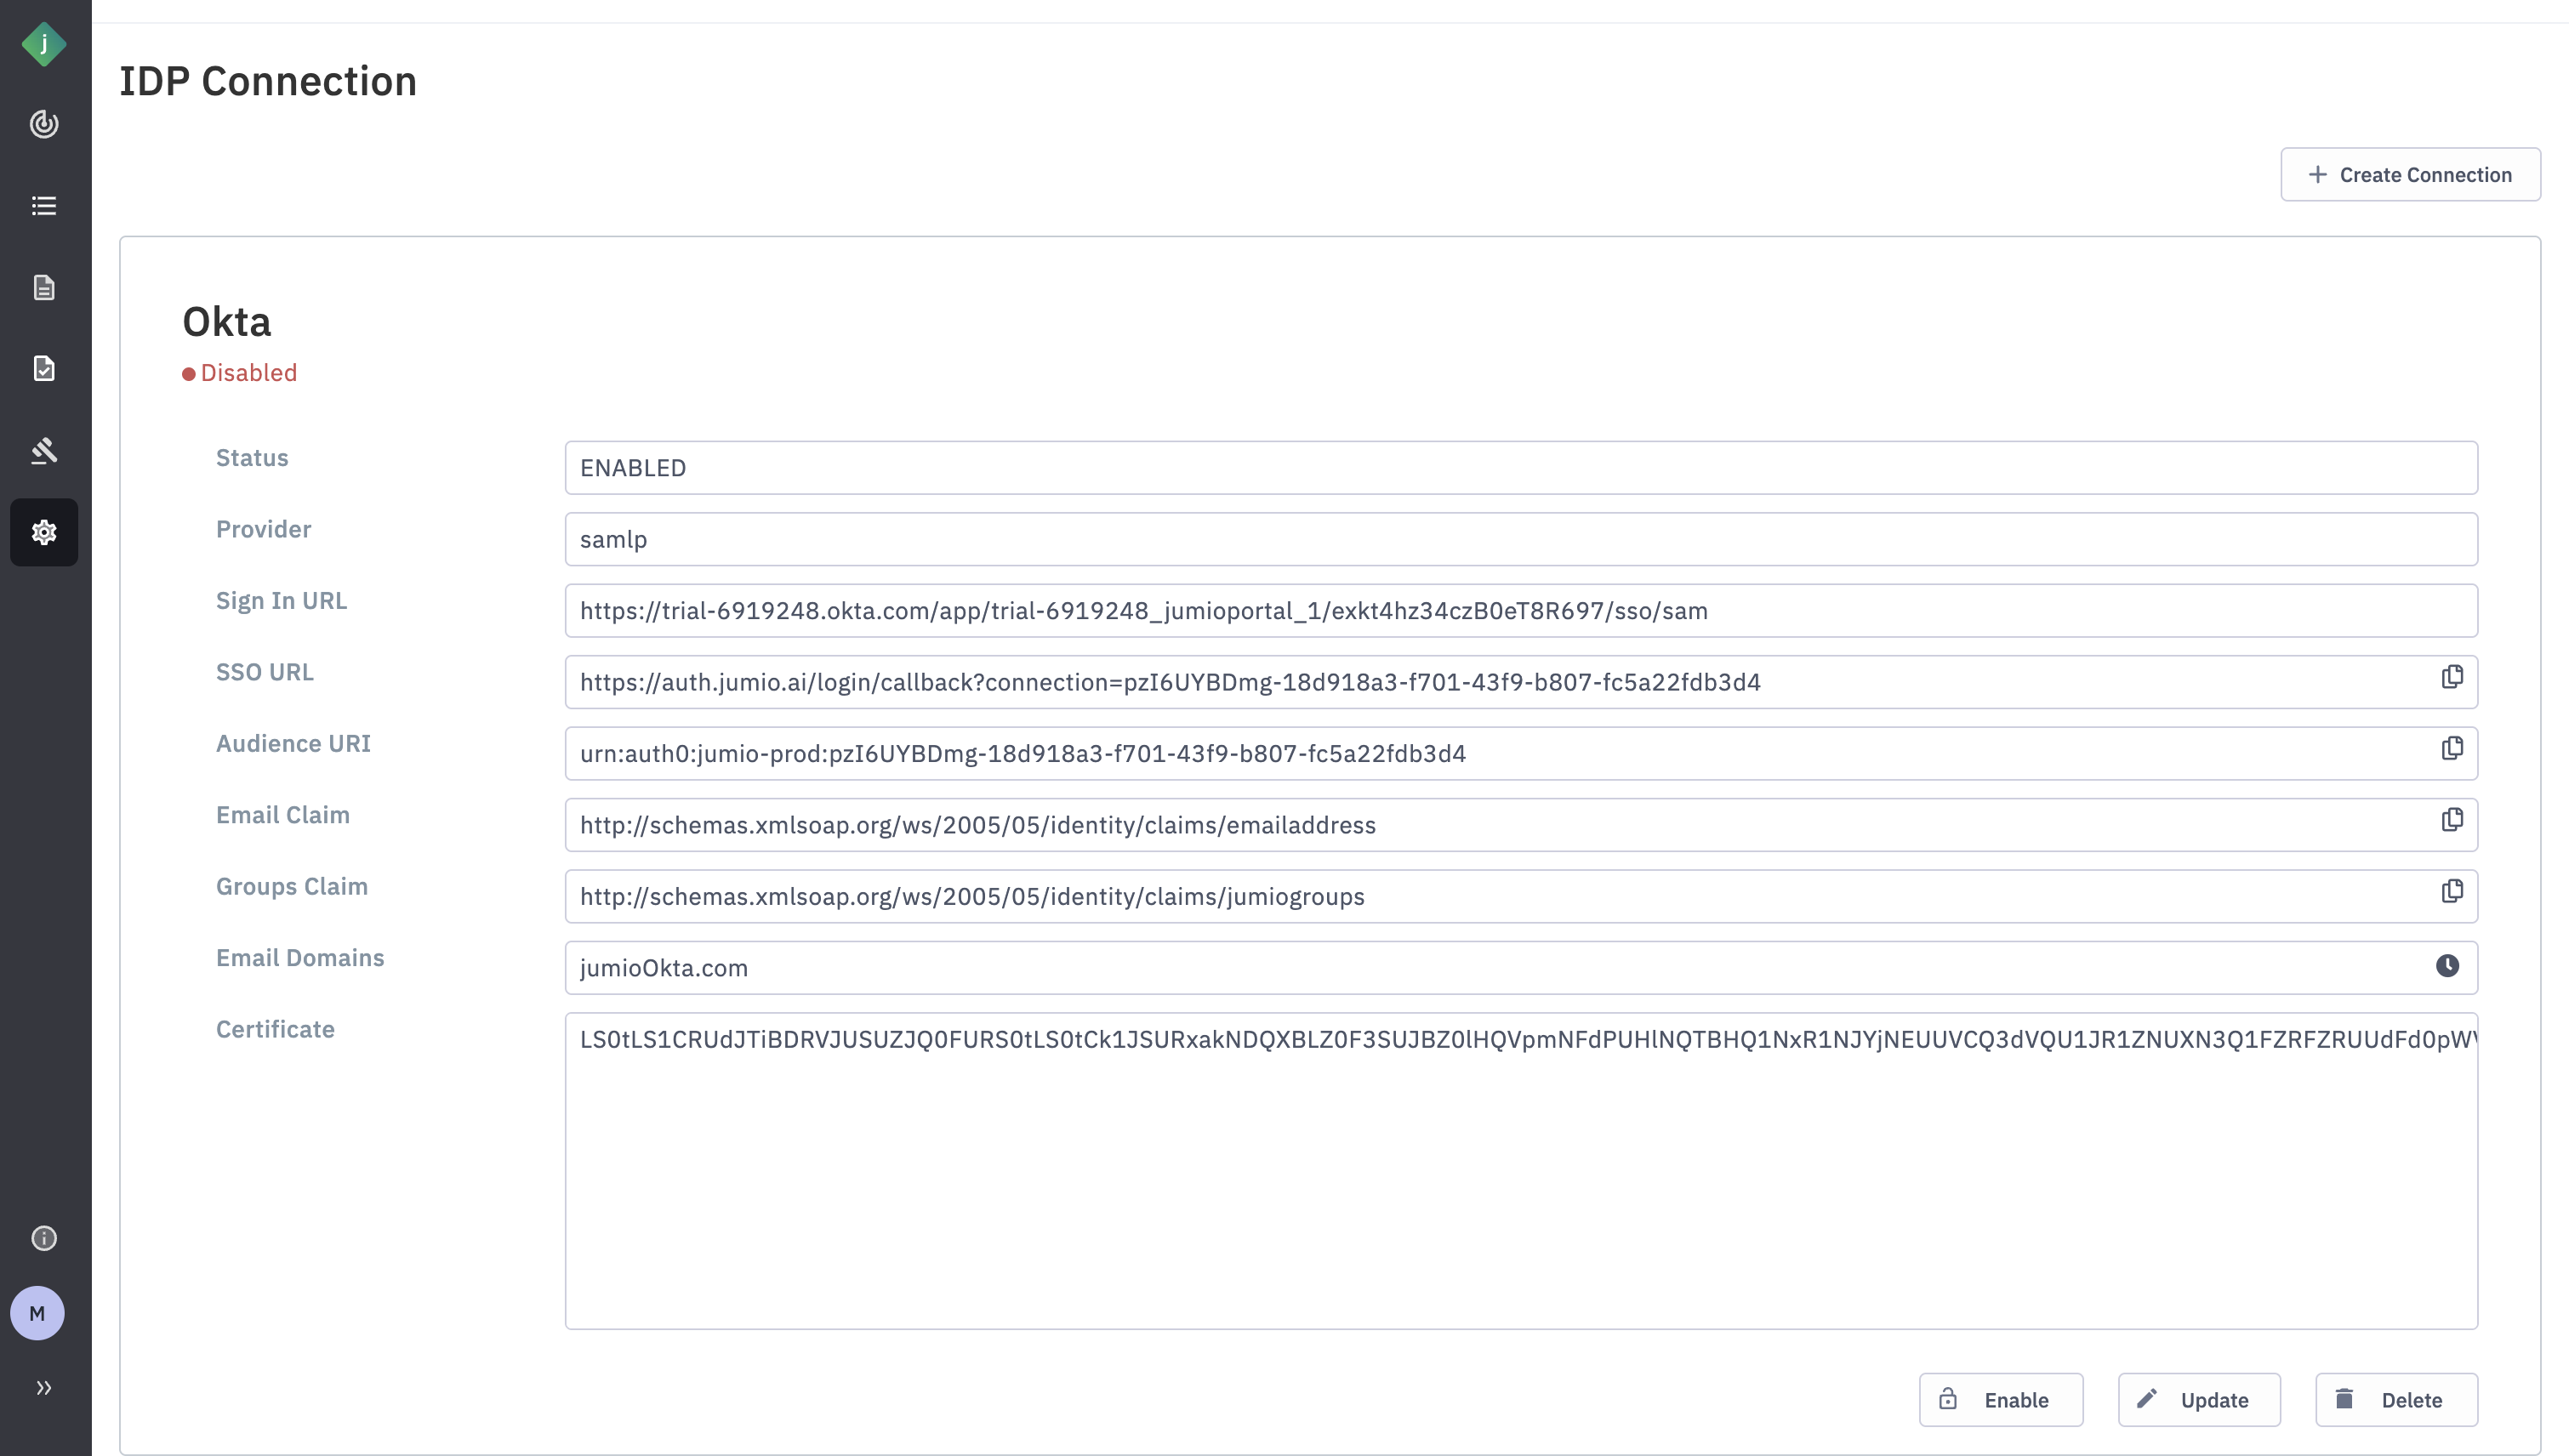
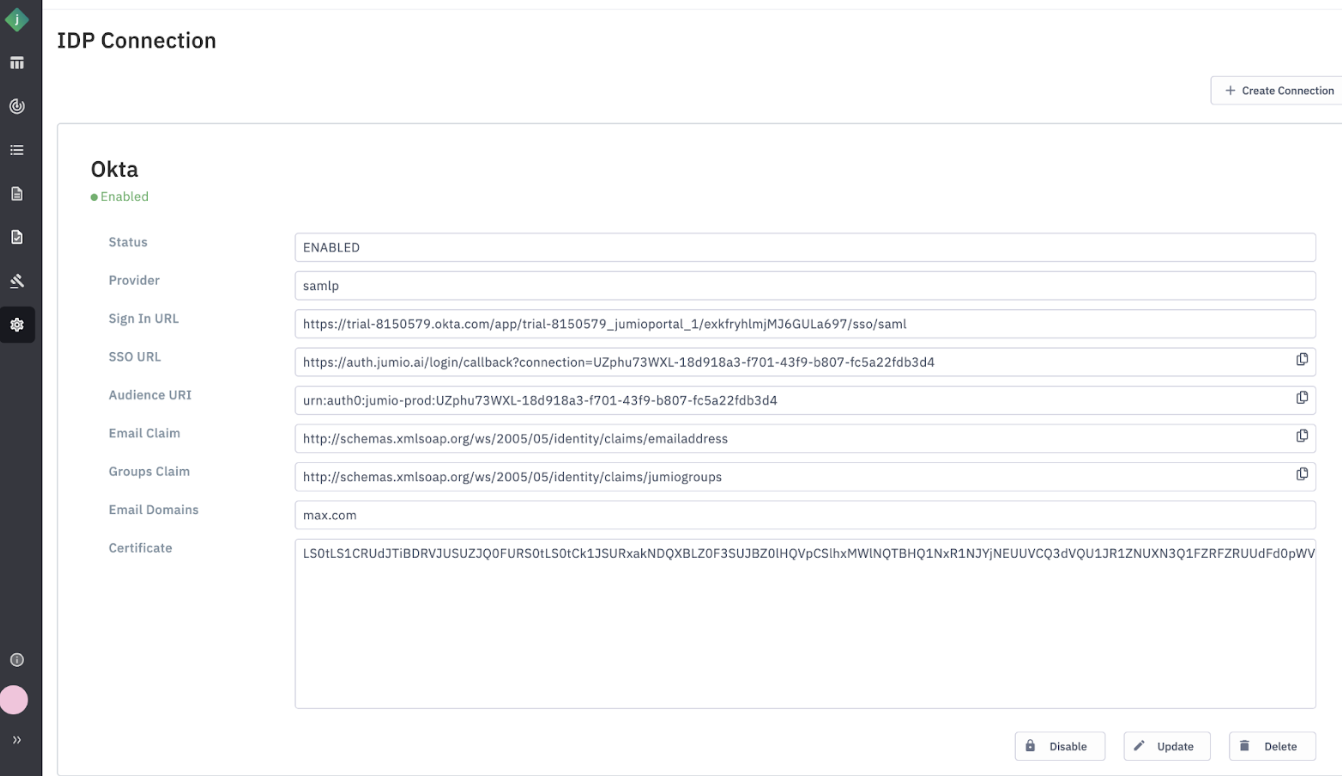
Step 16: Go to the Jumio Portal and copy/paste the following parameters from your Okta setup (as described in the previous step):
Identity Provider Single Sign-On URL → Paste into the Sign-In URL field
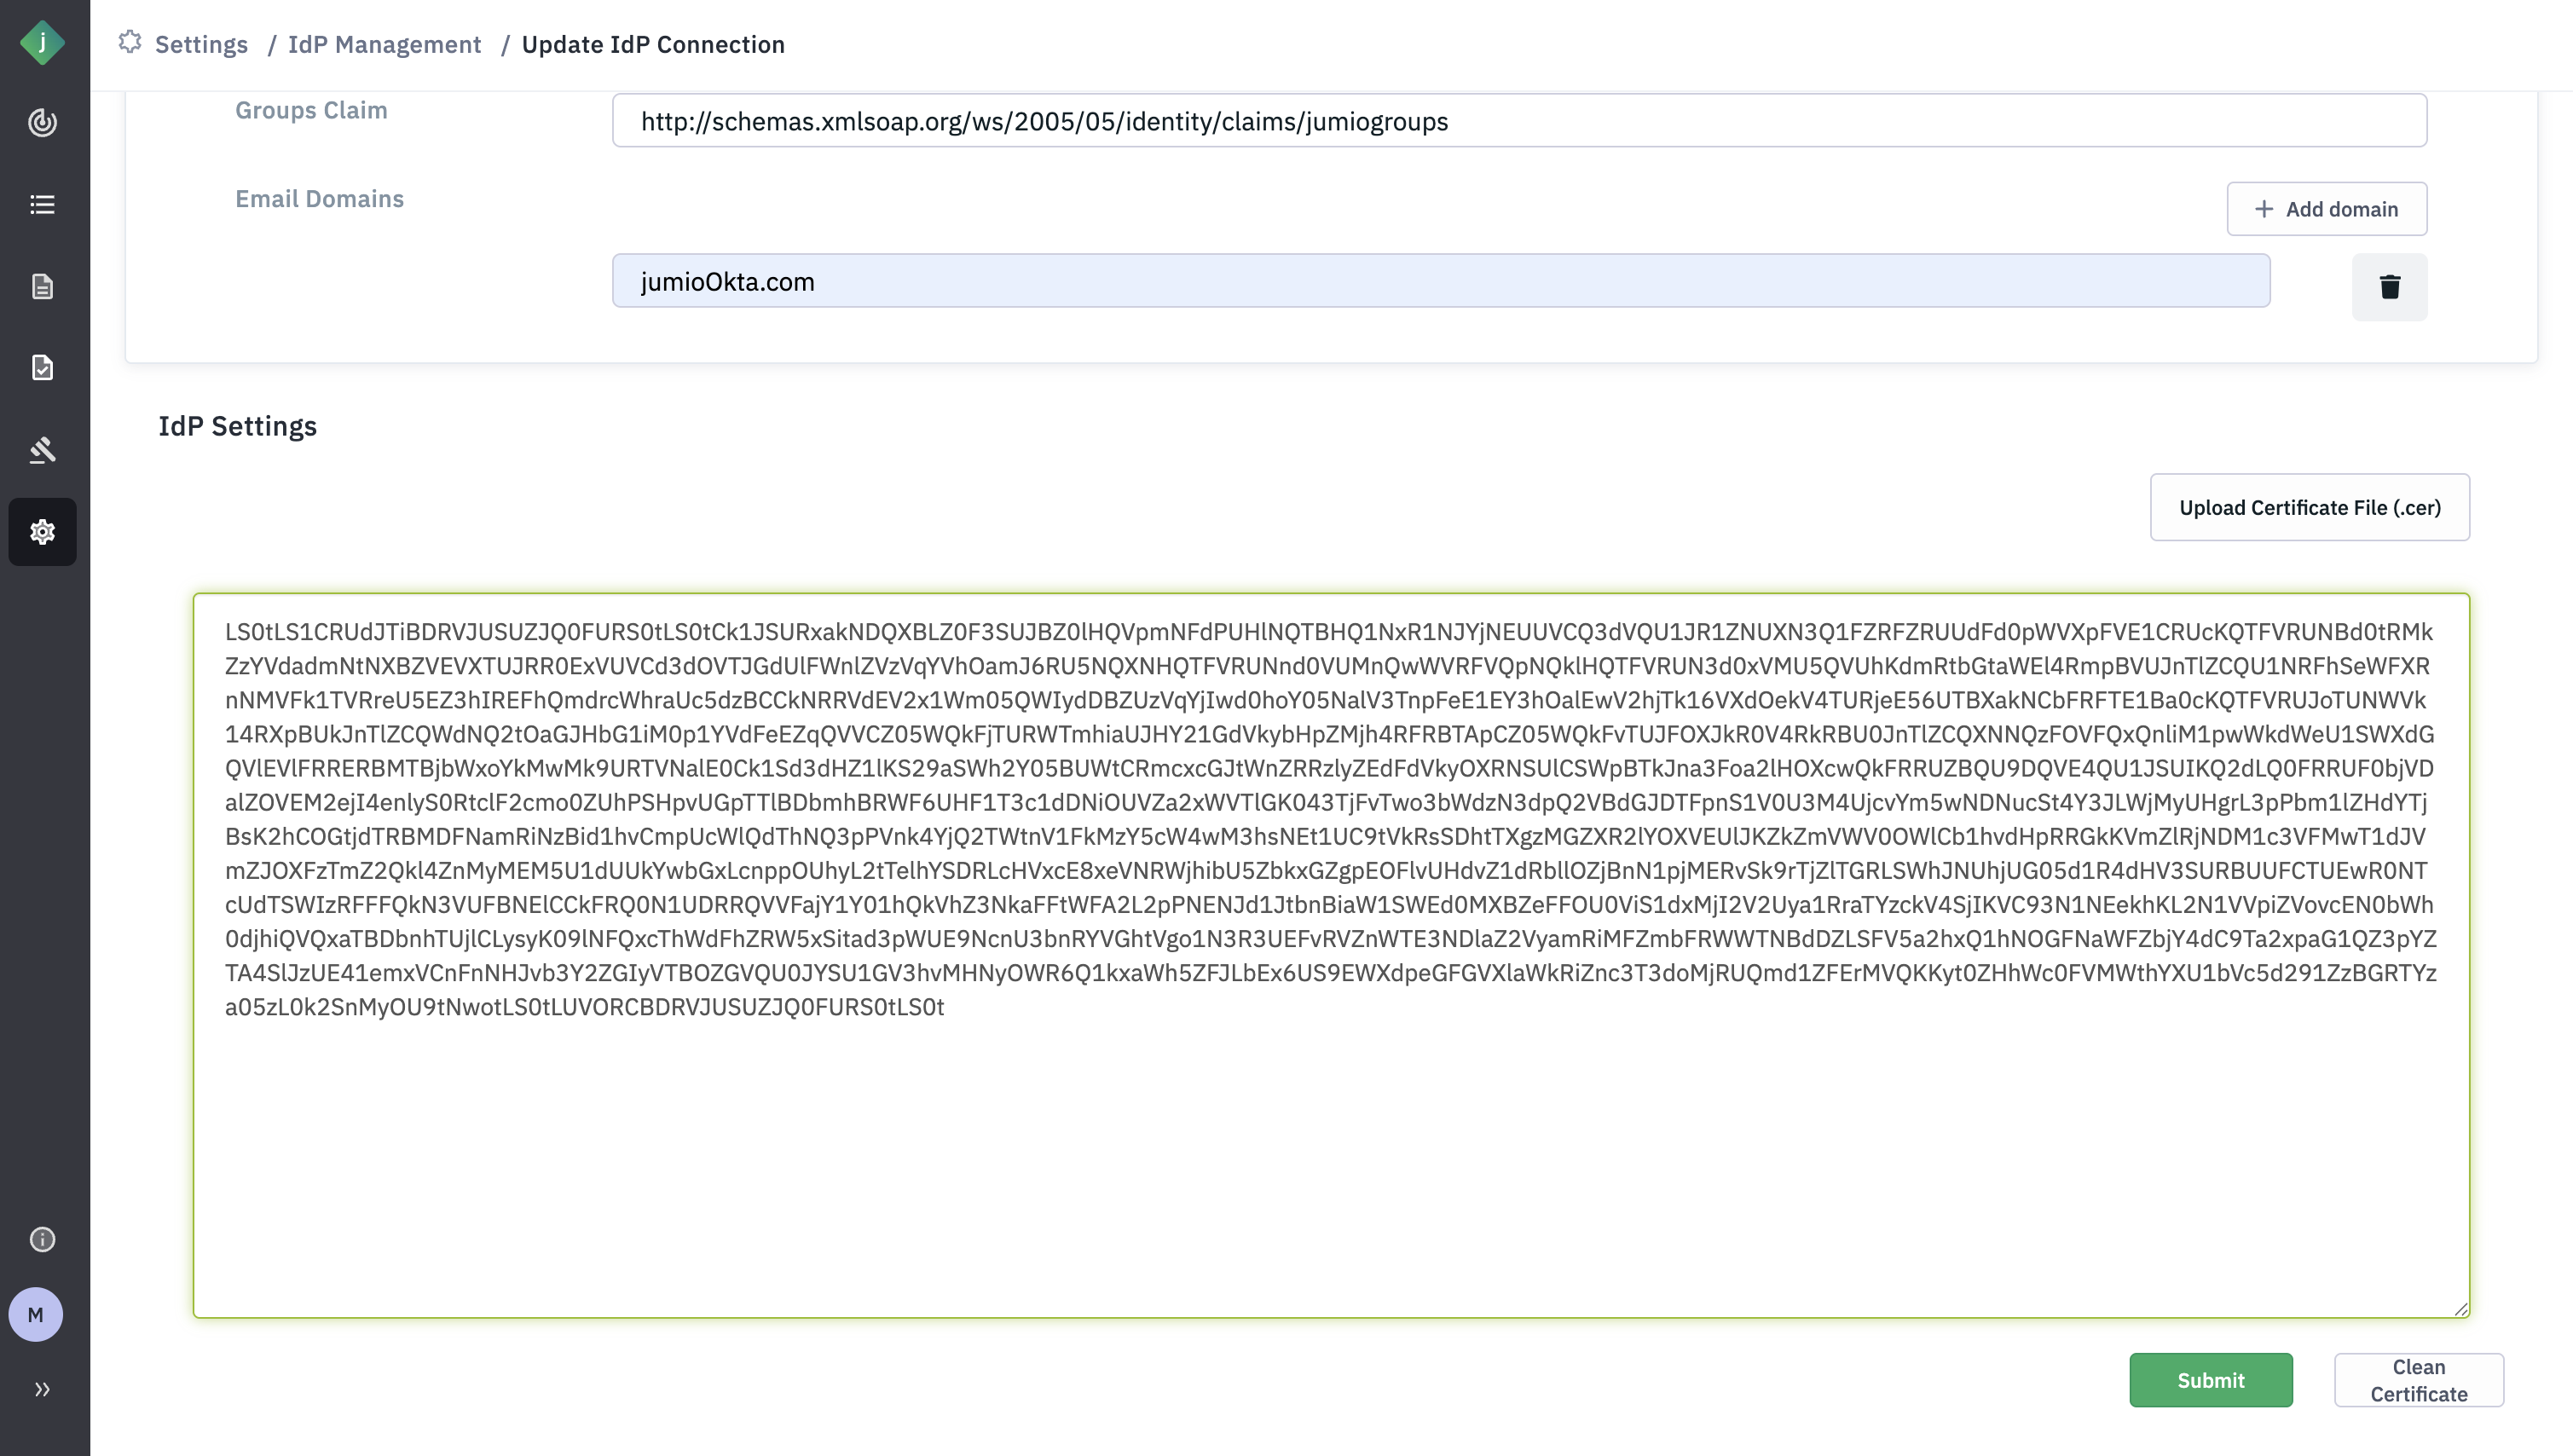
X.509 Certificate → Paste into the Certificate field
Email Domain → Enter the domain name used in your users’ email addresses
For example: If employee email addresses are like john@airbnb.com, the email domain will be airbnb.com
Step 17: Click Submit
Step 18: You will see that an icon pending will be displayed against the Email Domain.
Step 19: After clicking “Update”, you will see a message next to the email domain indicating a DNS challenge.
You’ll need to add the provided string as a DNS record for the corresponding email domain. This DNS challenge is used to verify that your organization owns the specified domain.
For example, based on the screenshot above, one’’ll need to add the following DNS record to Jumio email domain: jumio-up-idp-domain-verification=6c50eb3b-4576-4a87-804e-ab758f0b5f94

Step 20: Once the DNS record is successfully updated, the DNS challenge status will be shown as "Passed" in the Portal.
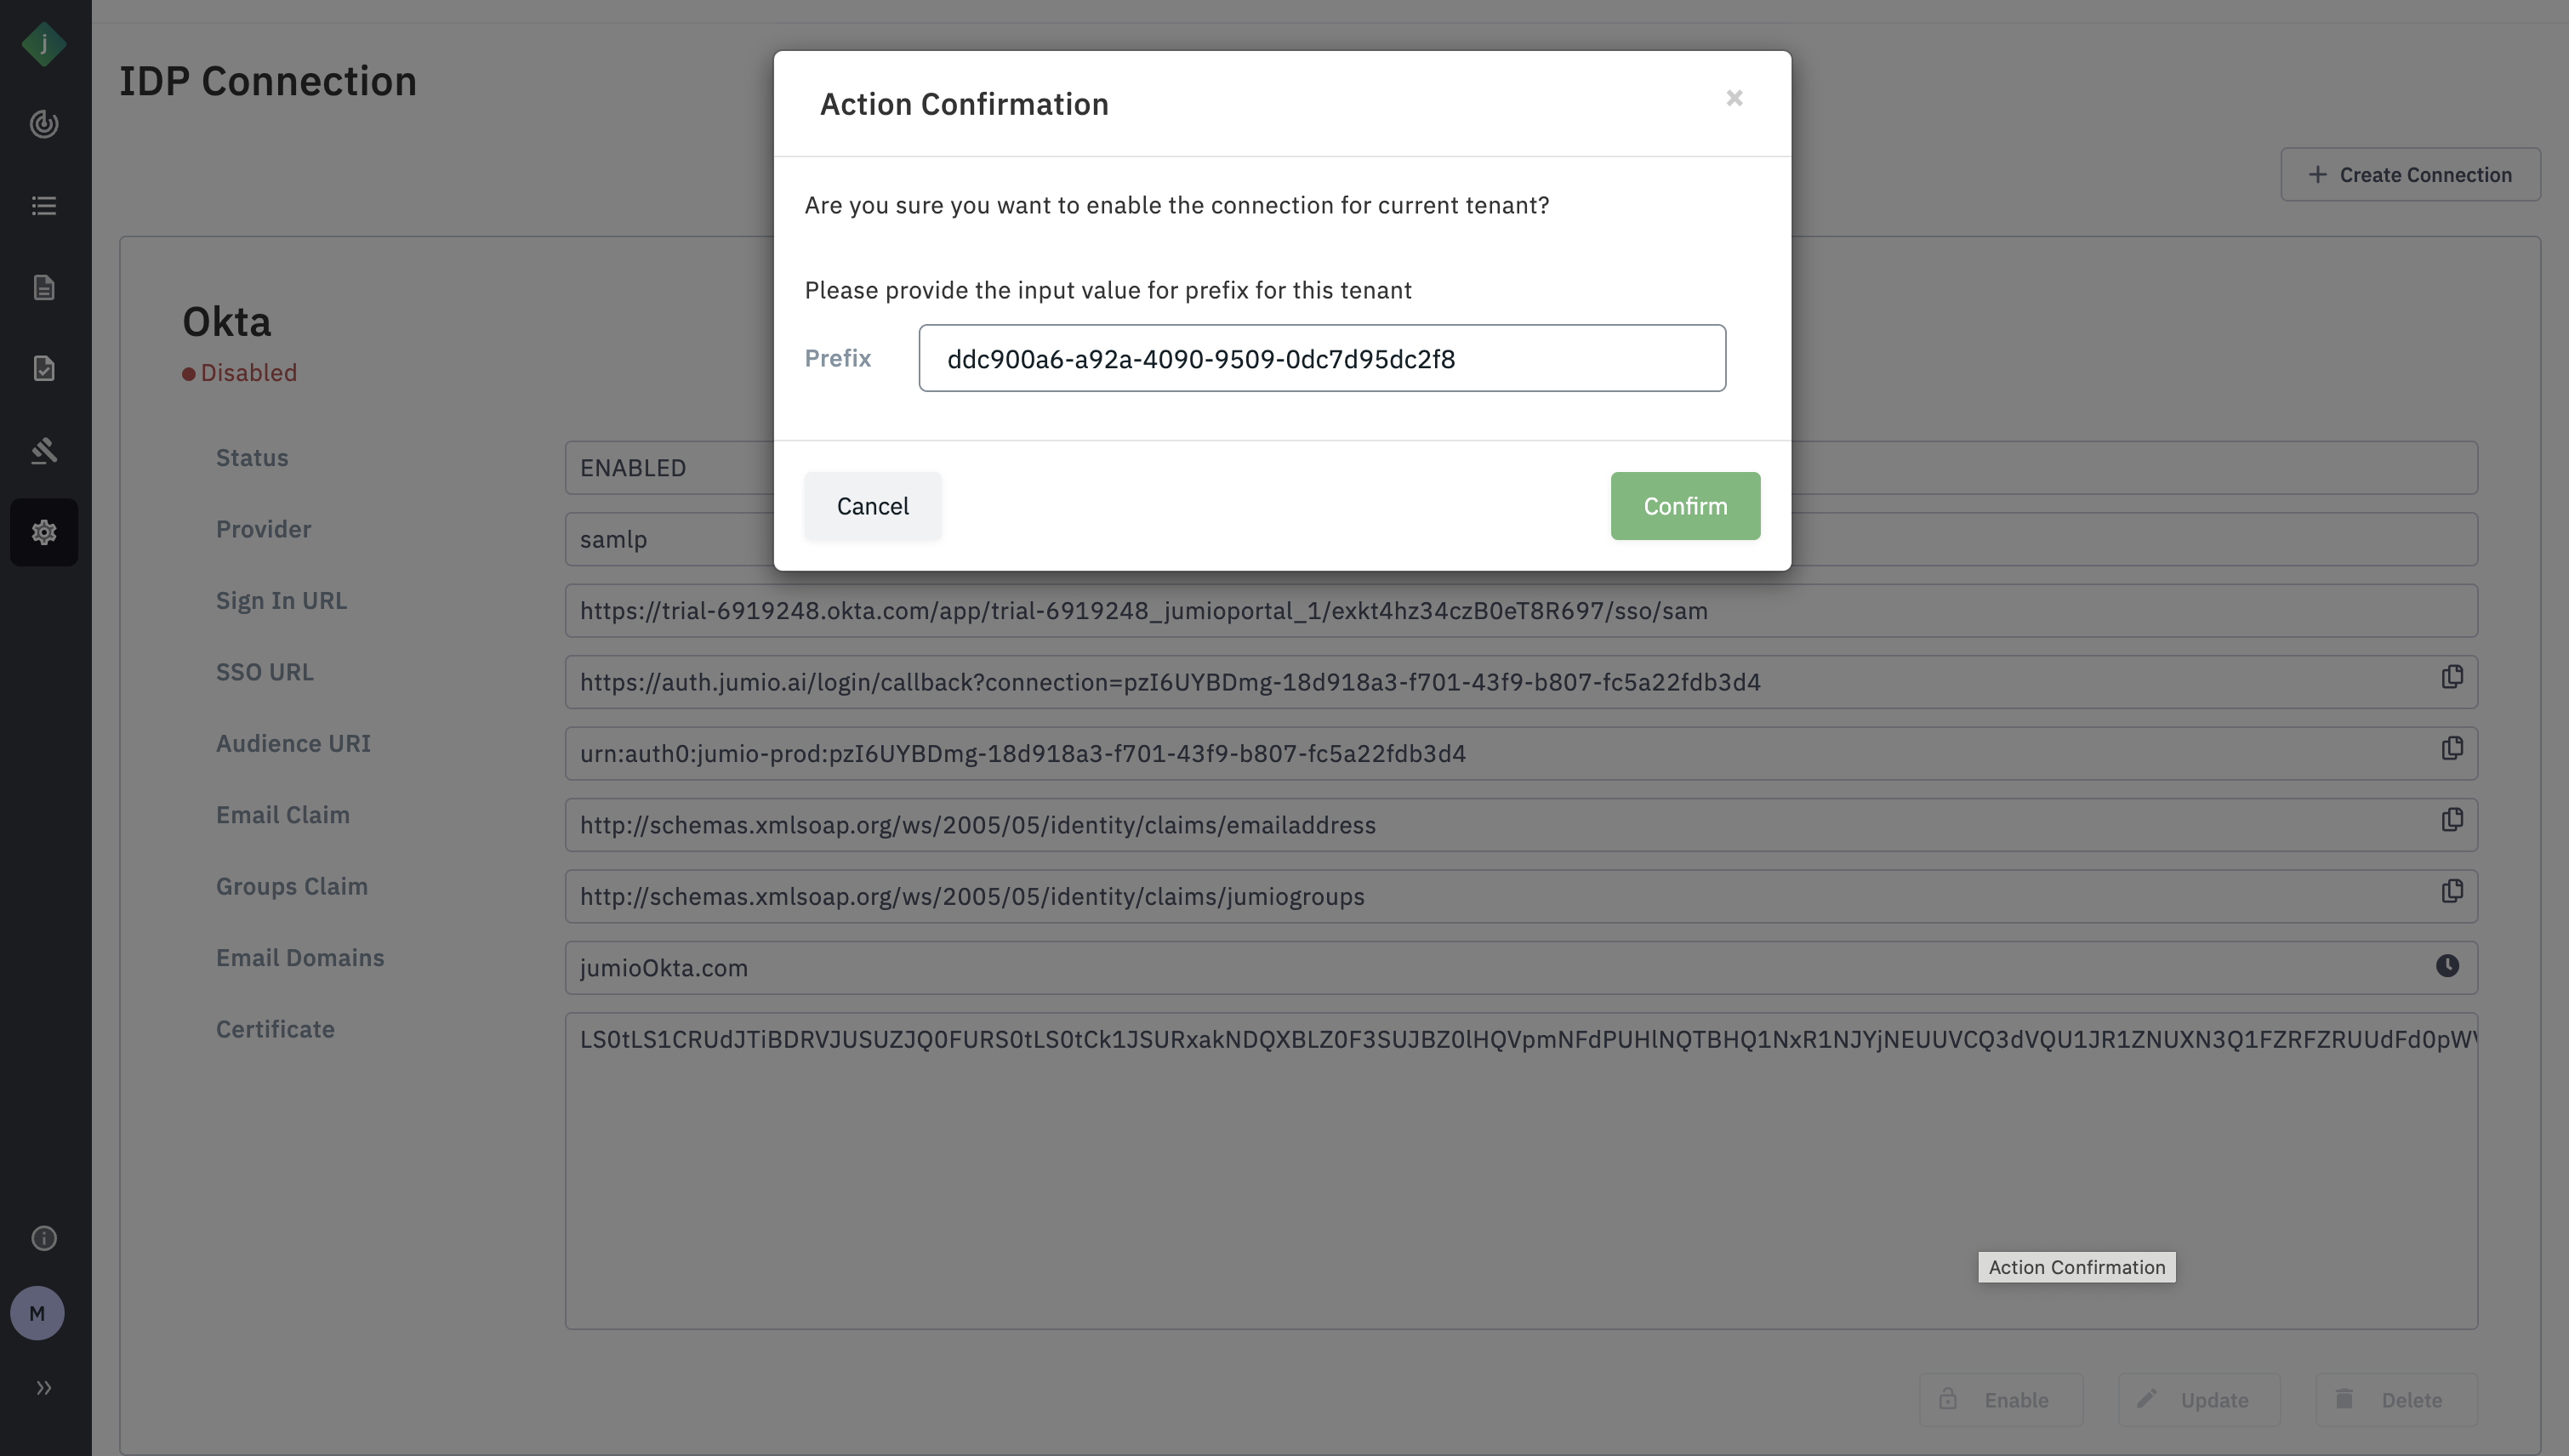
Step 21: Click “Enable”.
Please make sure to copy the ID from the pop-up, as it will be needed in (step 24)
Step 22: Navigate to “Assign Users to App” and assign the users that should be assigned to the app.
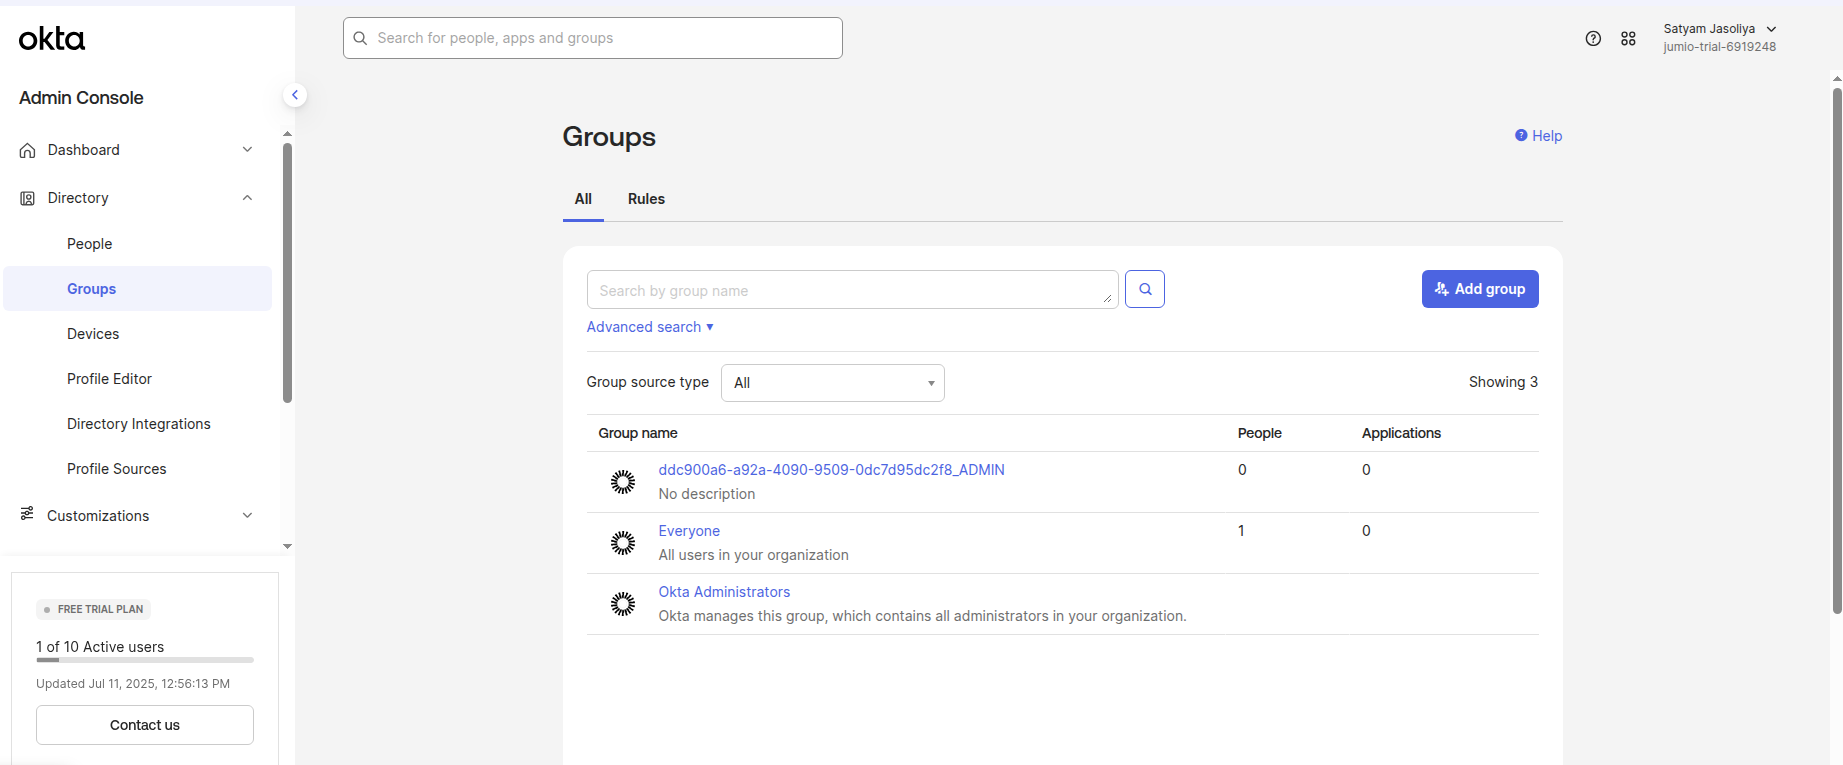
Step 23: Navigate to Directory -> Groups
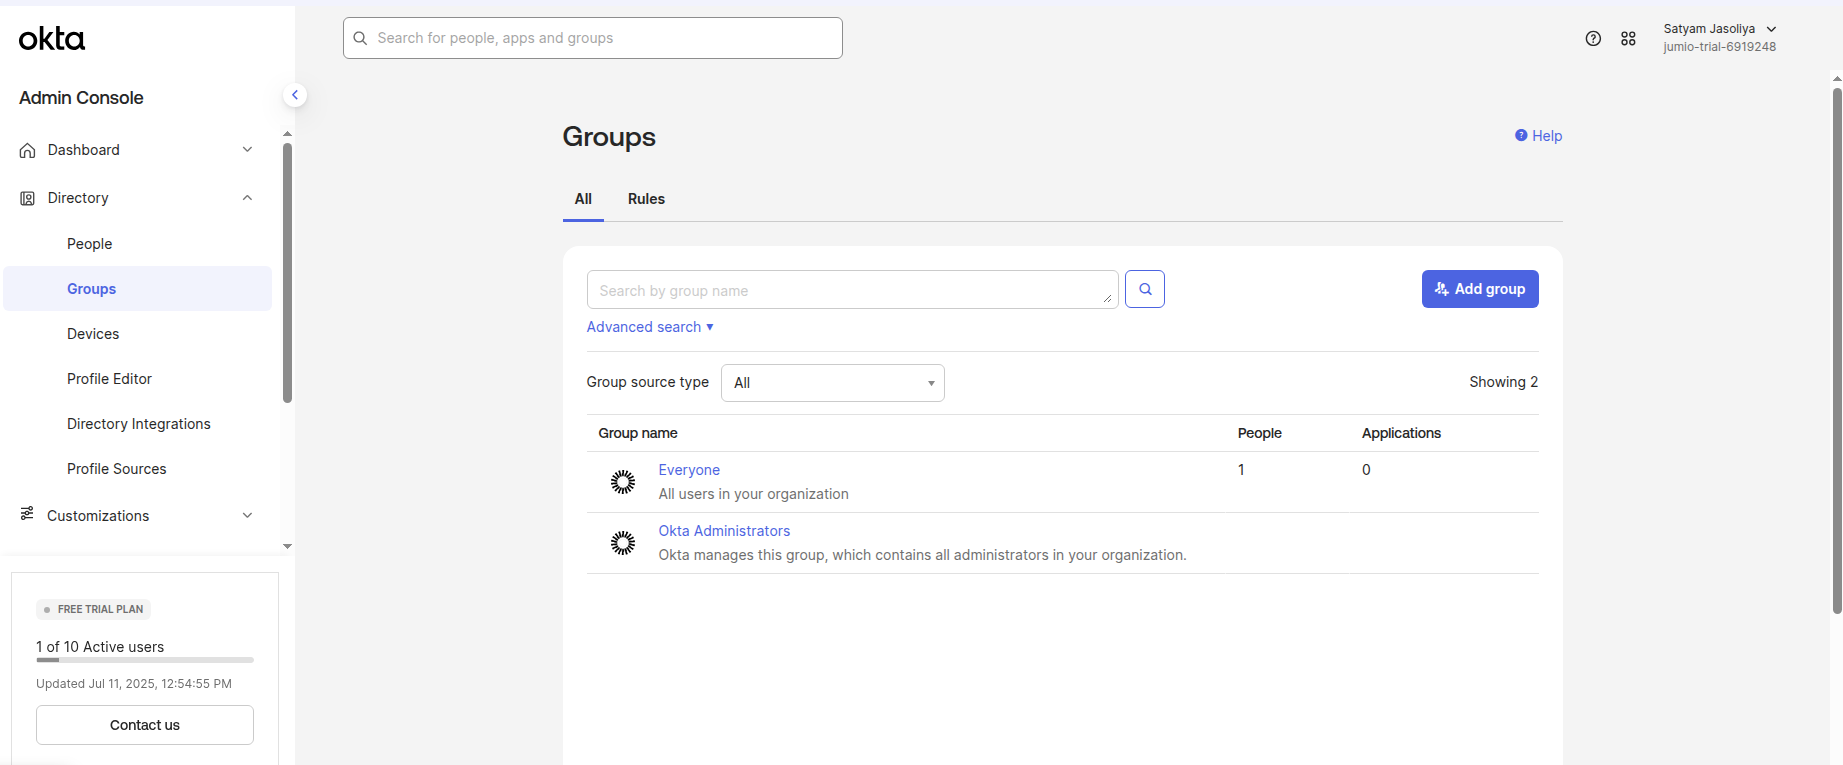
Step 24: Click Add Group.
Group name should follow the convention: TenantID_GroupLabel
The list of group labels are as follows:
| Role |
|---|
| ADMIN |
| KYX_ADMIN |
| SUB_ADMIN |
| RISK_MANAGER |
| RISK_ADMIN |
| RISK_ANALYST_LIMITED |
| RISK_ANALYST |
| ACCOUNTANT |
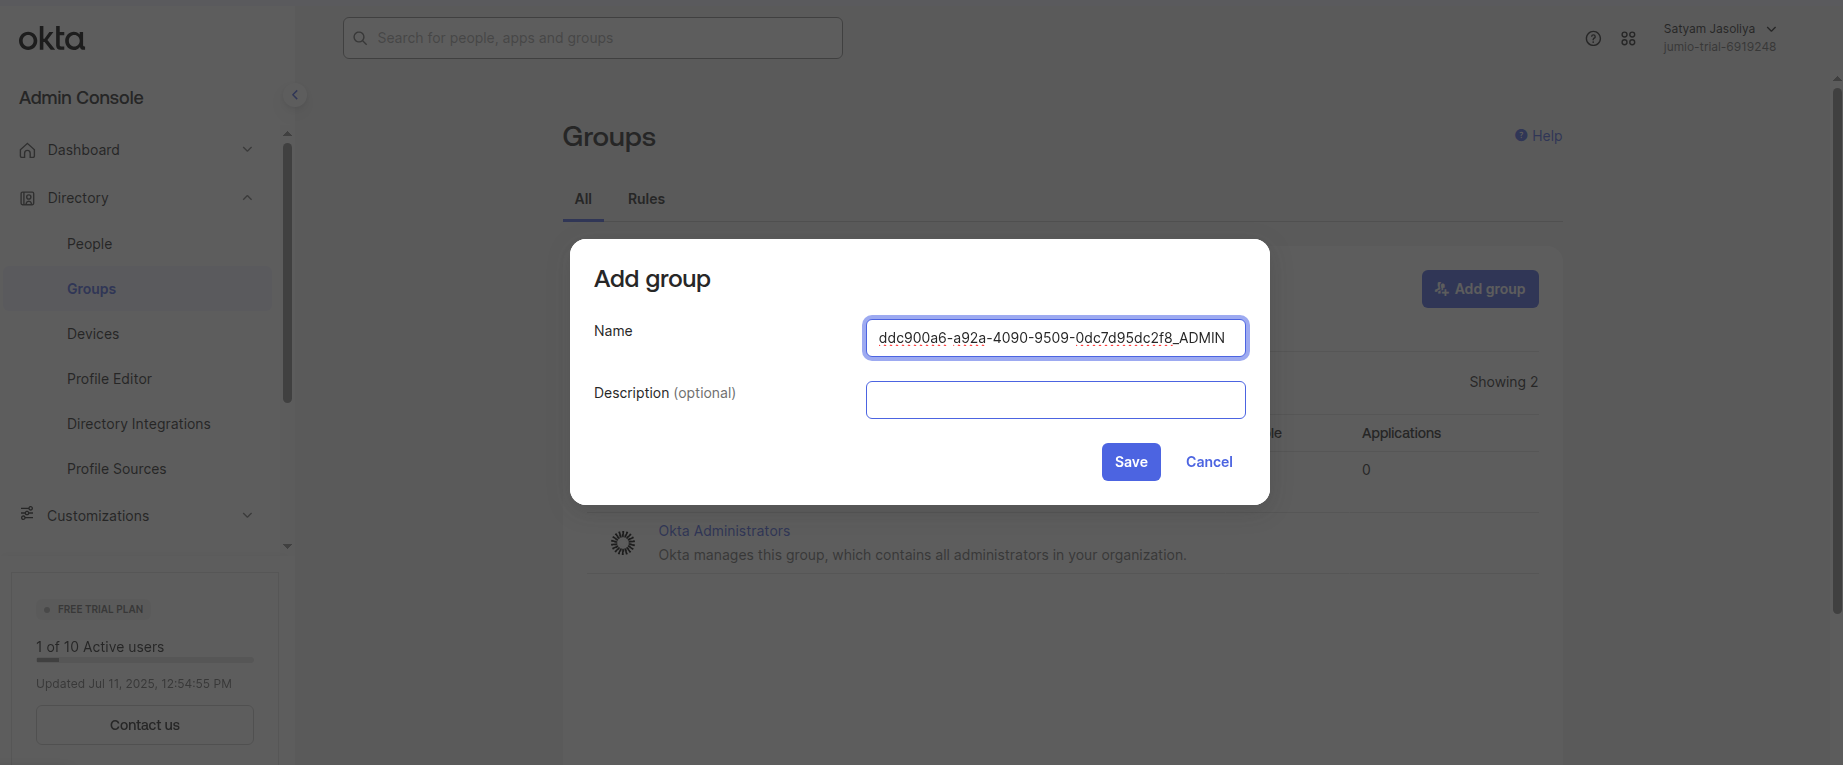
For instance, I have created a group for Admin user below
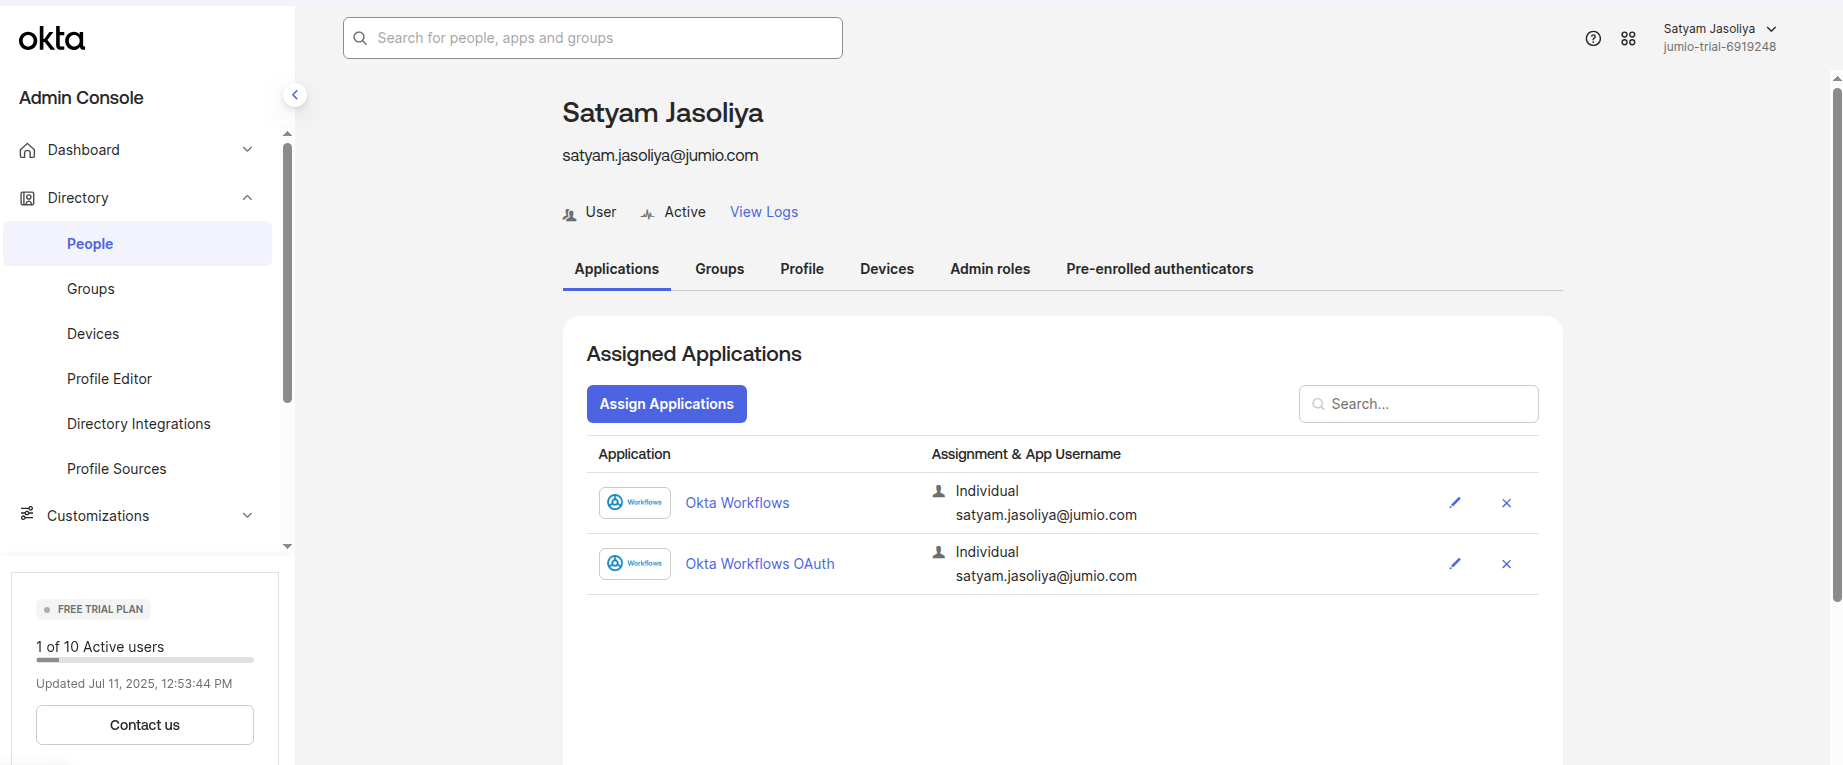
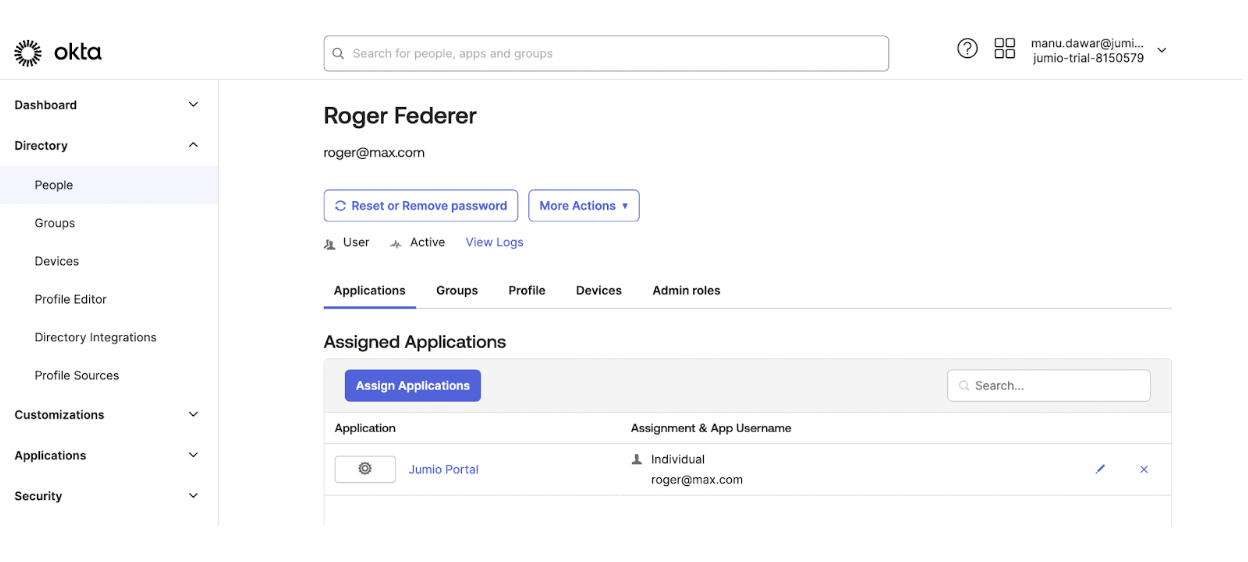
Step 25: Navigate to Directory -> People
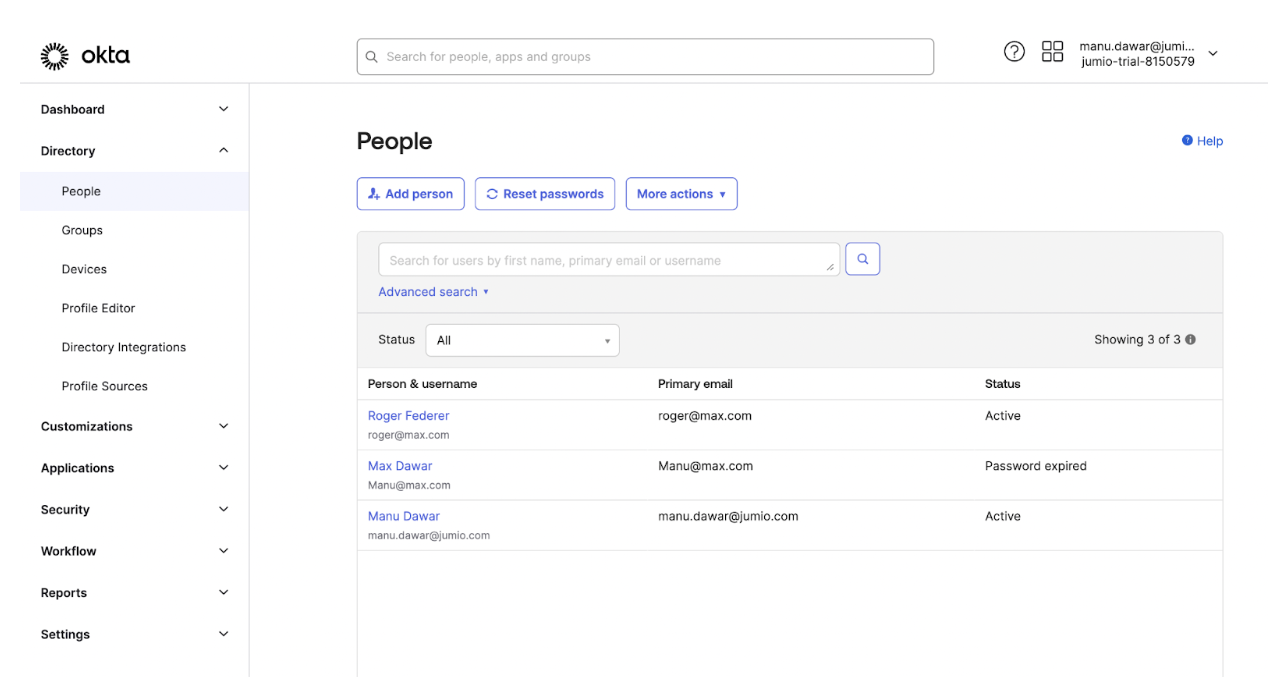
Assign the user to the Jumio Application created in Step 8.
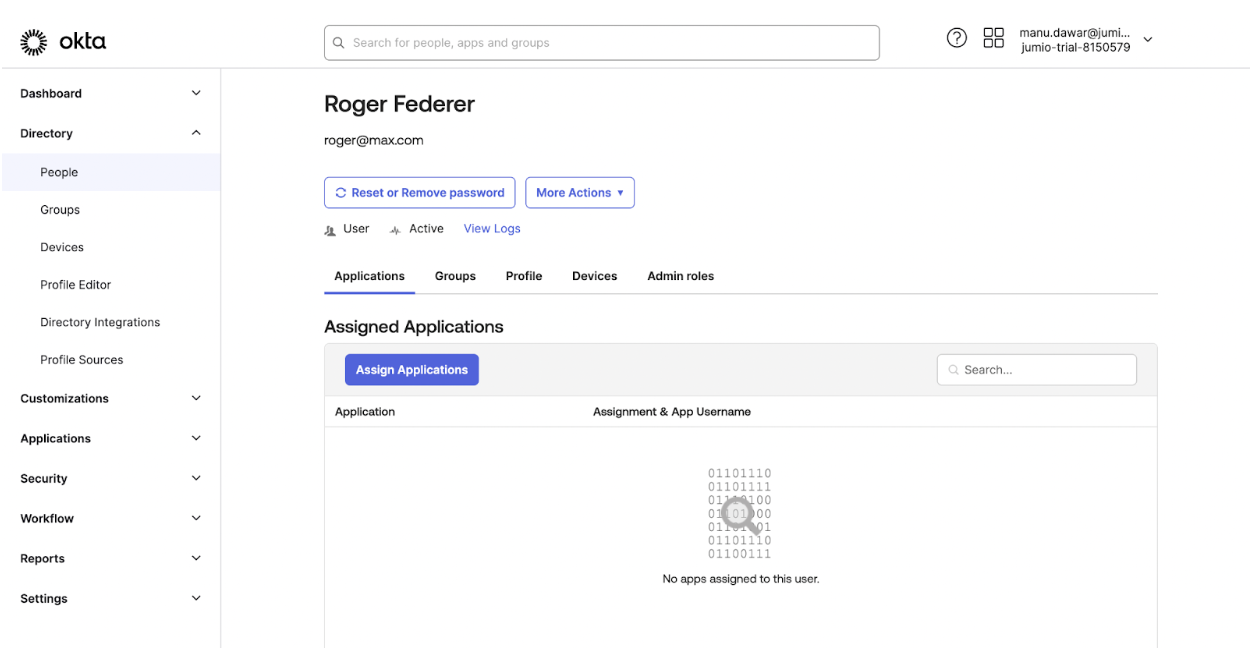
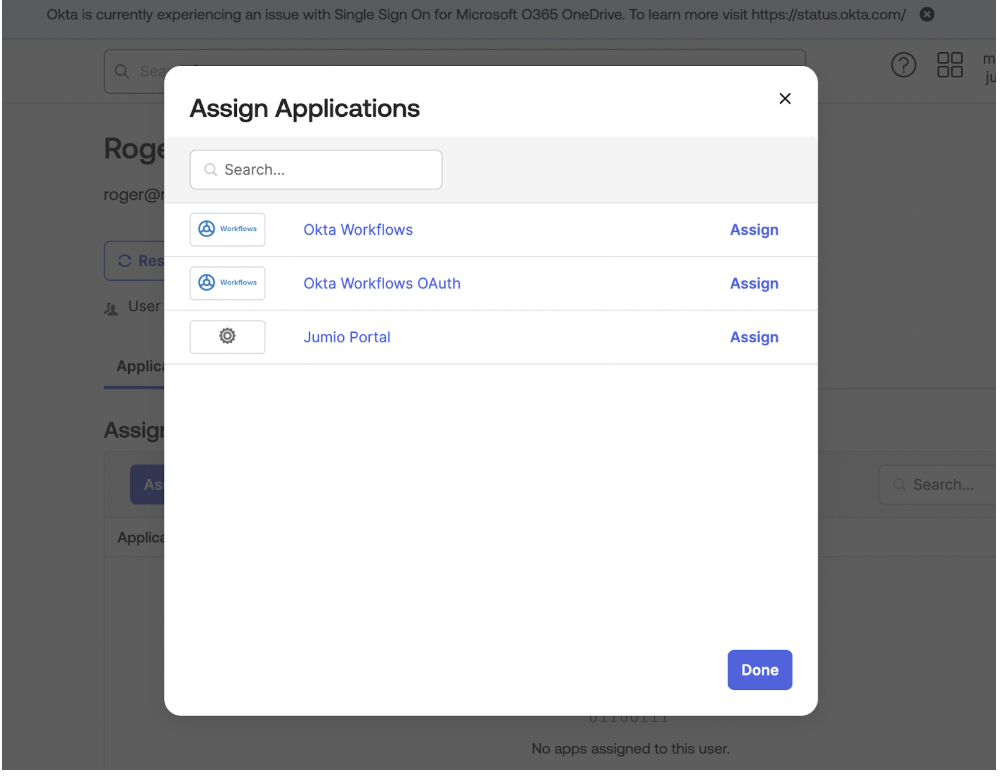
Once the application is assigned it will be visible in applications tab for the user.
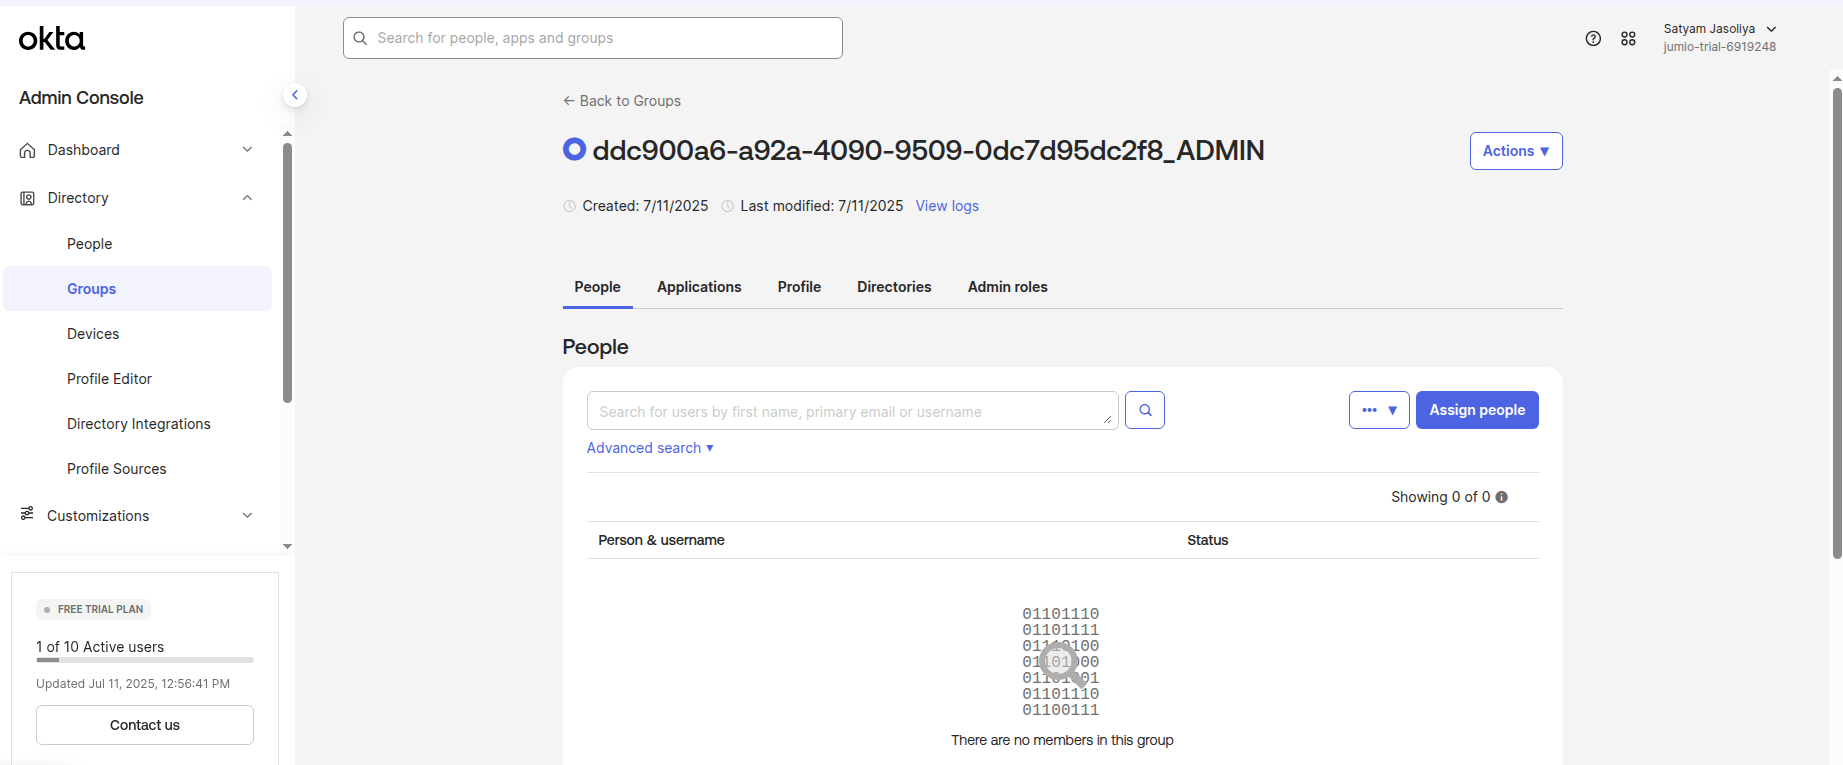
Step 26: Navigate to Directory -> Groups
Click the group that was created in step 24. Assign the user to the group.
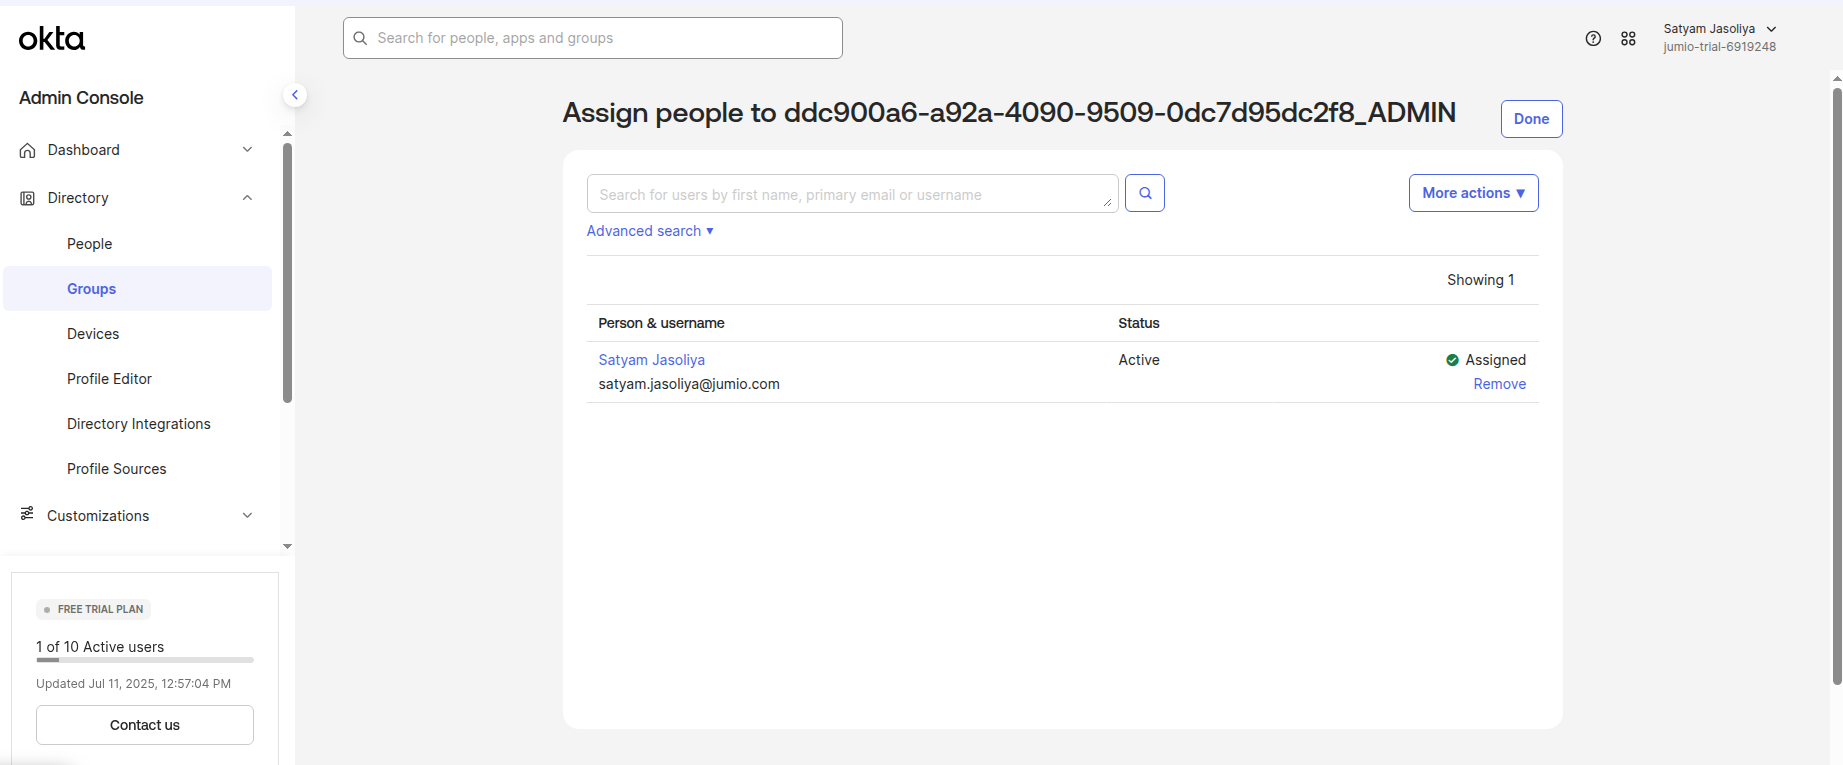
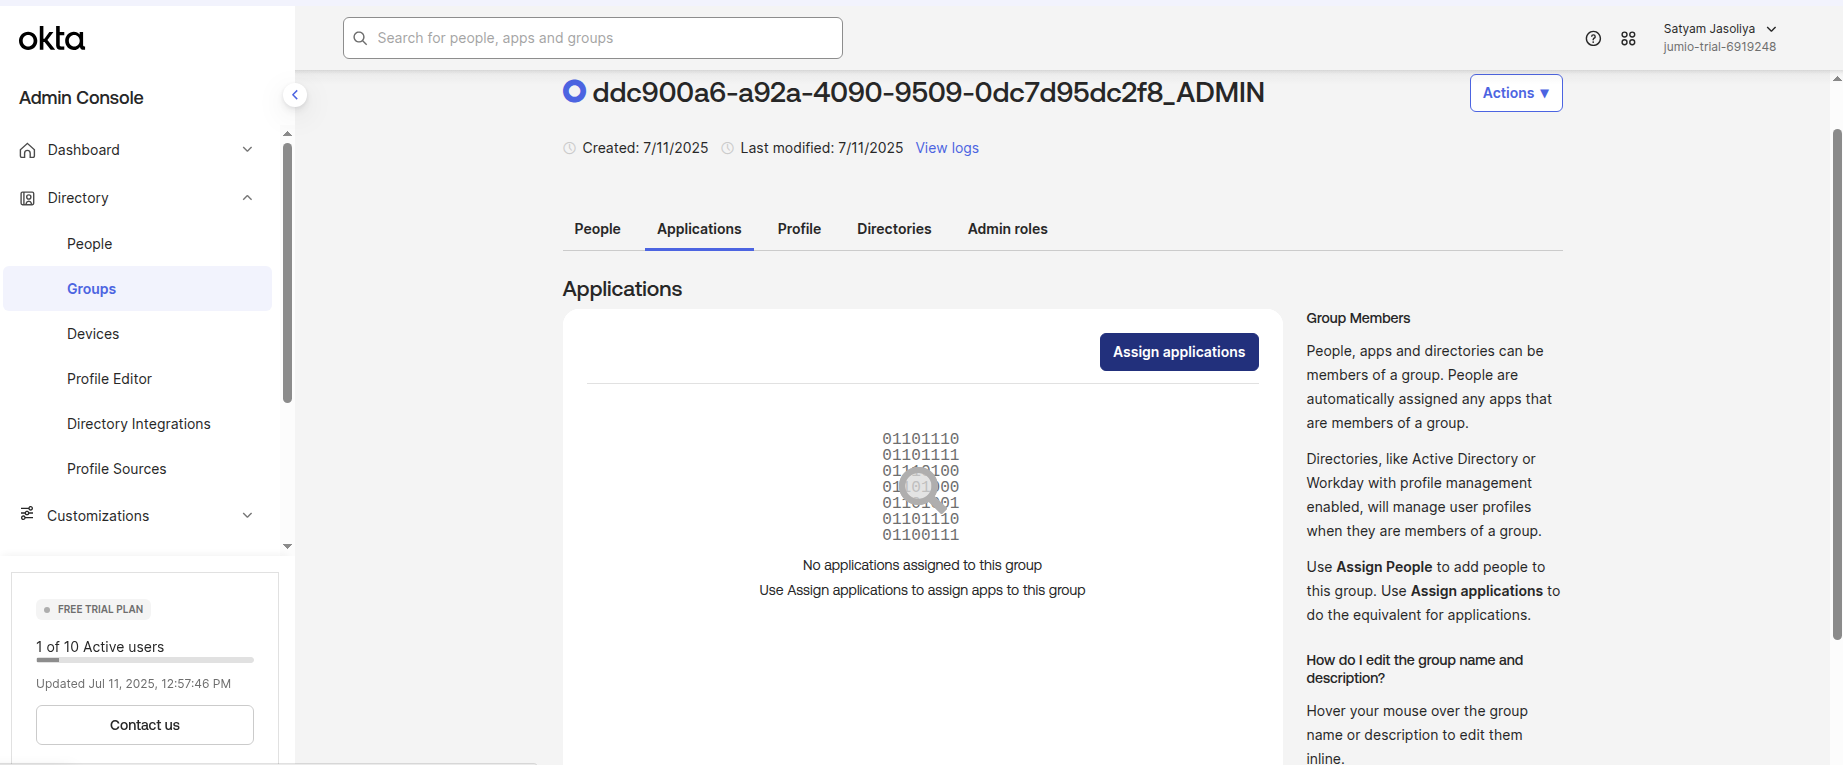
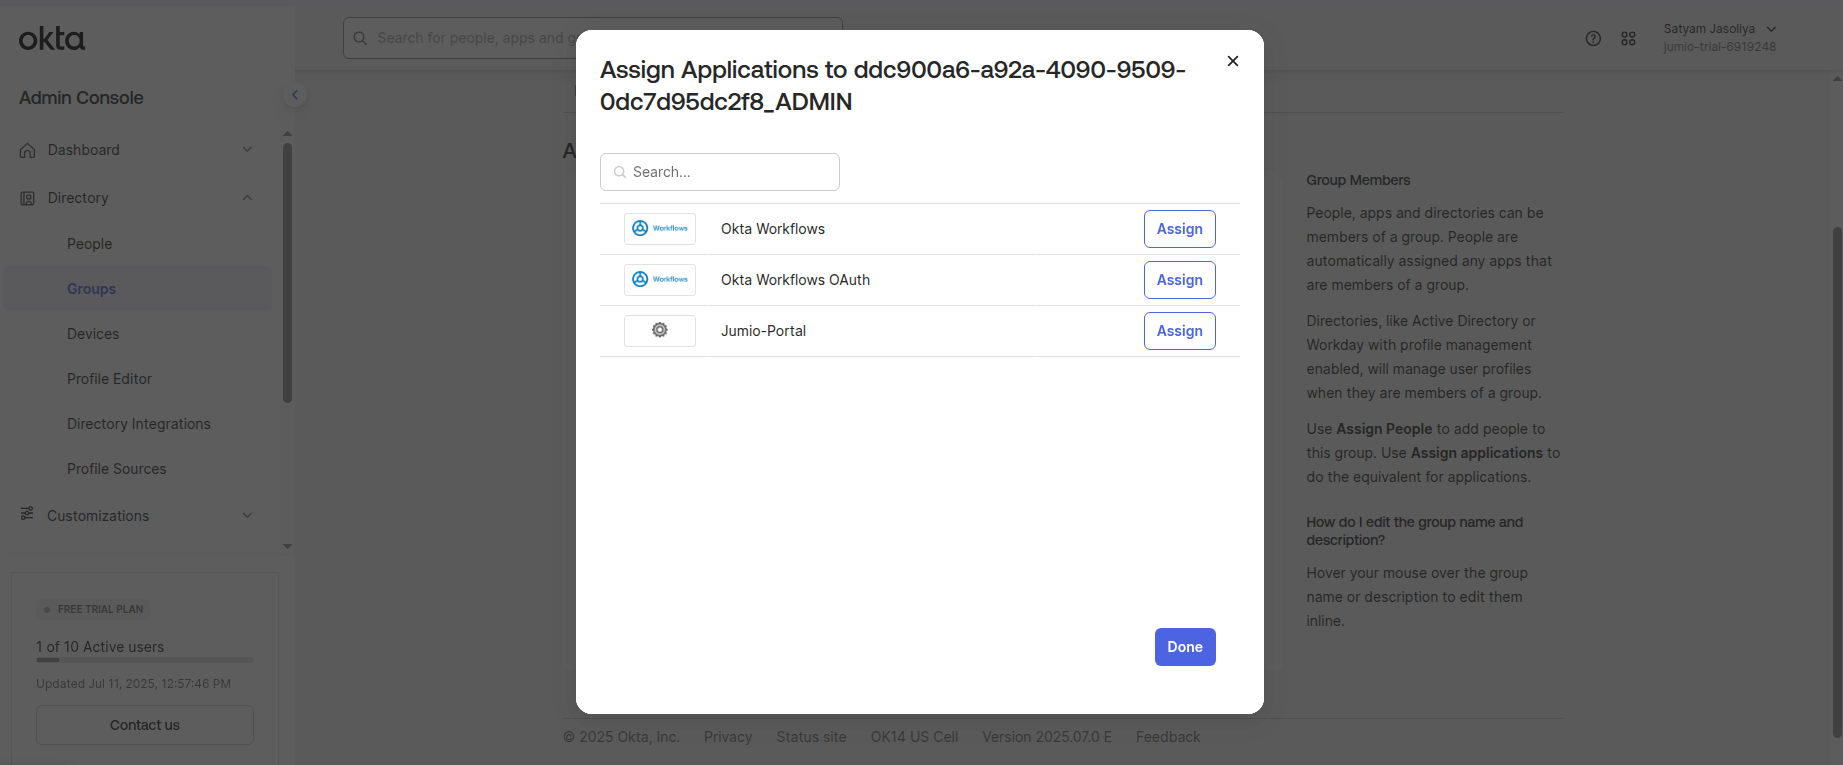
Step 27: Assign the Jumio Application to the Group
Step 28: Login to Jumio Portal and Enable the connection for the tenant.
Step 29: Login to Jumio Portal with the email of the user whose group mapping was set in the previous step.
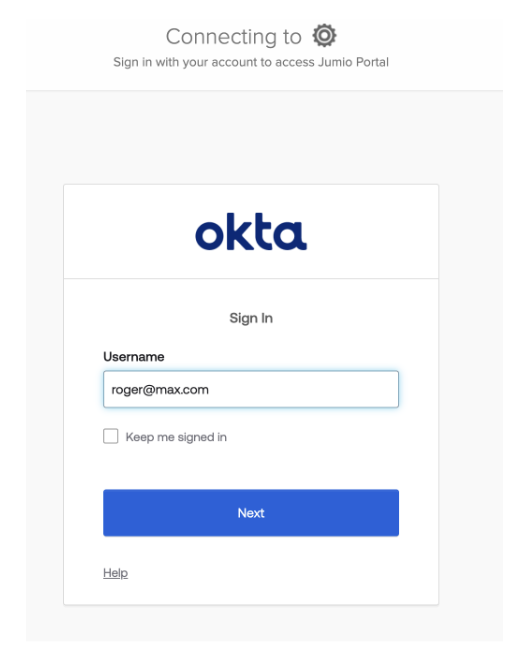
Step 30: It will redirect you to the login page of linked Okta account
SSO configuration is managed at the account level. This means that IDP settings configured for one tenant will be visible across all tenants within the same account. Any admin user from any of the associated tenants will have access to view and modify the IDP settings.