Customize Your Dashboard Configuration
The following configuration options are available for your Dashboard,
1. Set the Dashboard Time Frame
By default, the Dashboard shows data for the previous day. You can select a different time frame in either of the following ways:
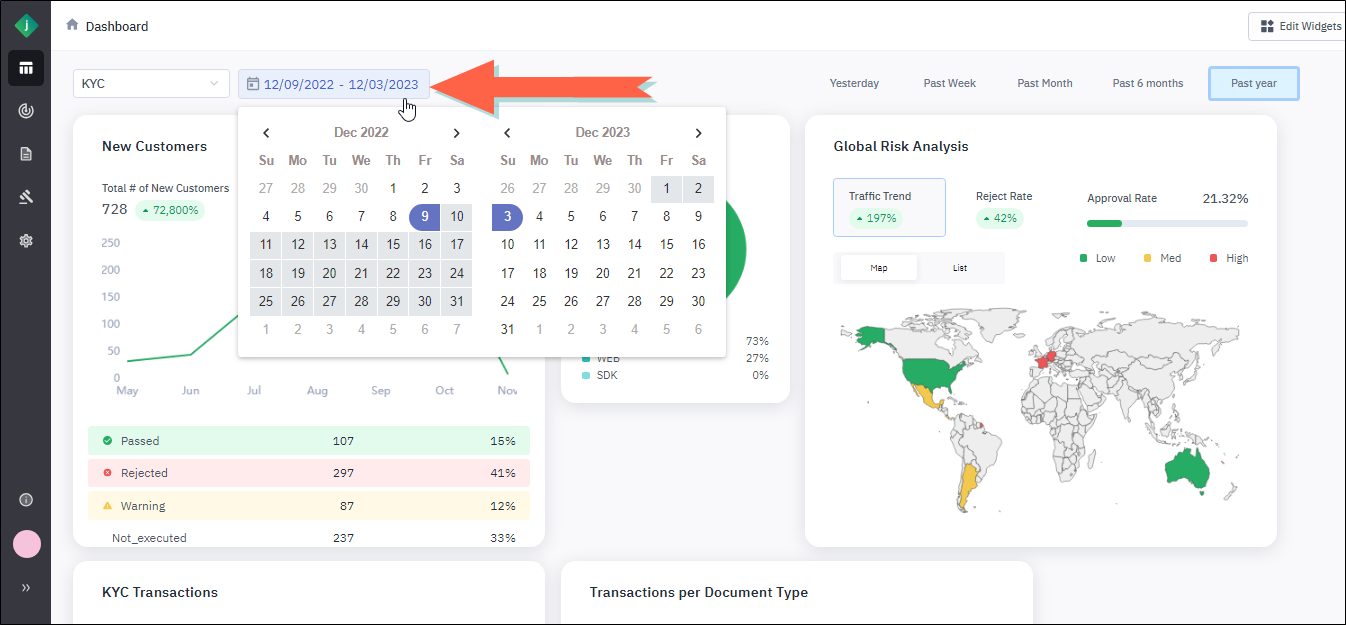
Option 1: Click the date range and select start and end dates from the calendar dropdown menu.
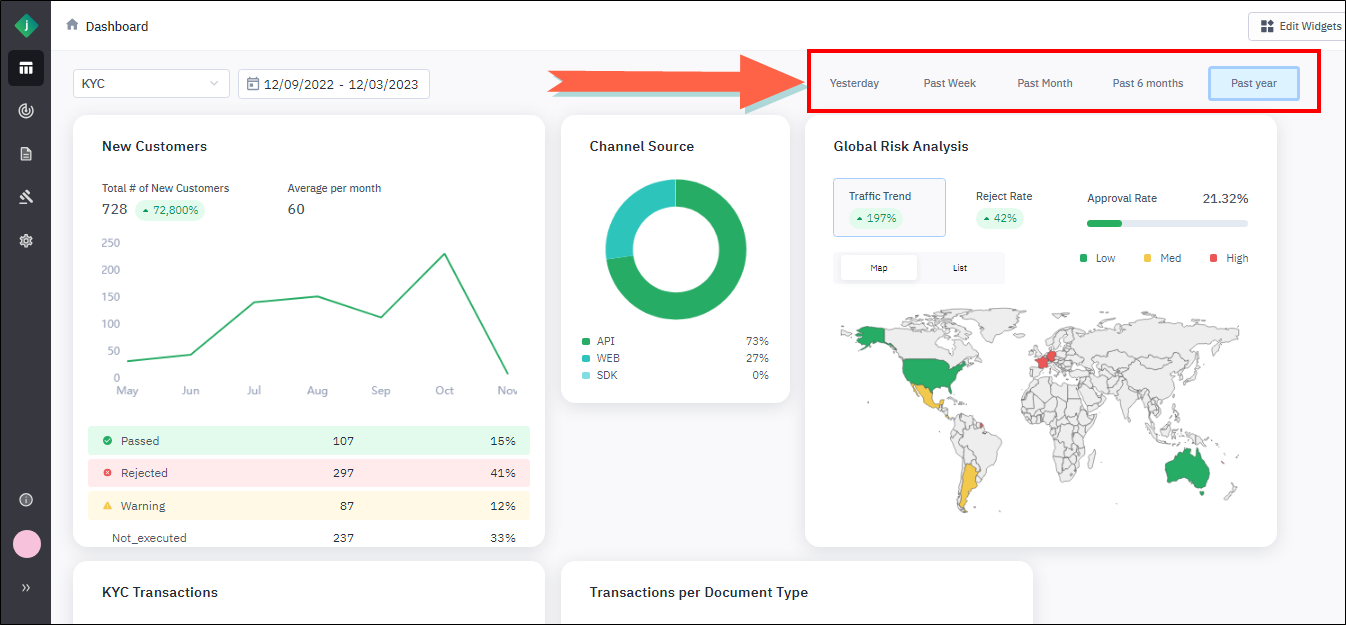
Option 2: Click one of the time-frame options in the upper-right corner of the Dashboard.
2. Rearrange Widgets on the Dashboard
You can rearrange the widgets on the Dashboard by clicking and dragging.
Step 1: Hover the pointer over the top edge of the widget until it changes to a four-headed arrow.
![]()
Step 2: Click and hold down the mouse button.
Step 3: Drag the widget to a new location.
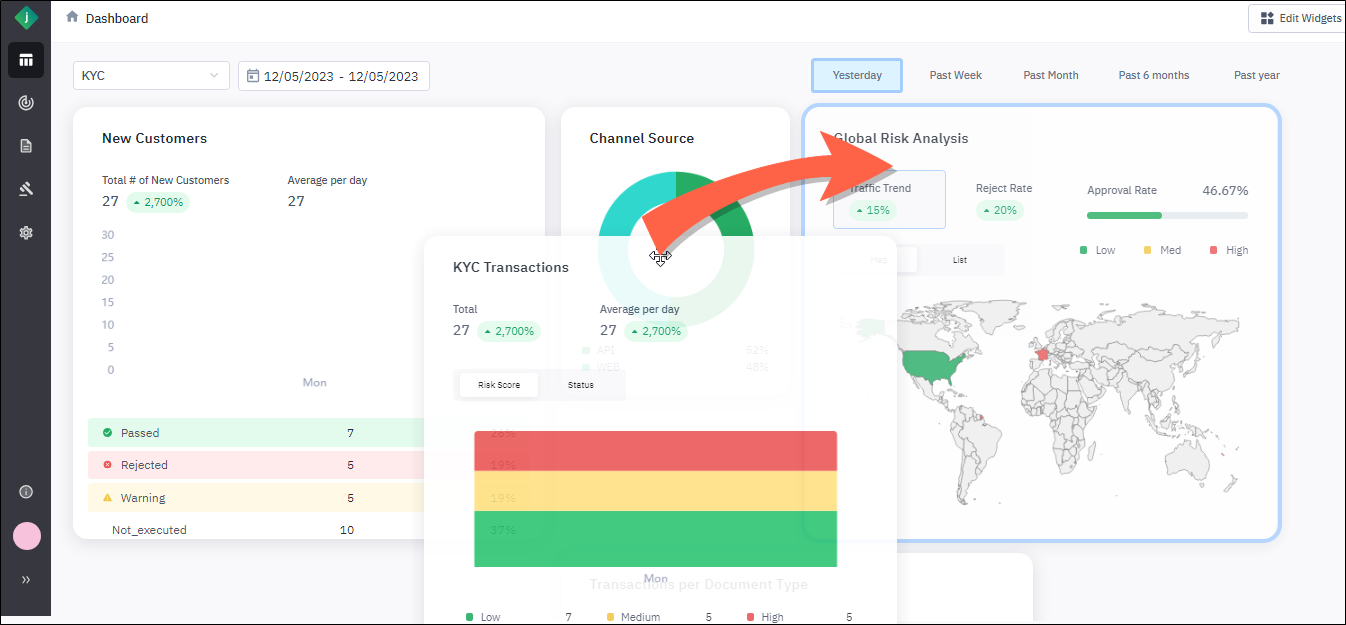
Step 4: Release the mouse button. The widget drops into its new location, and the other widgets reorder accordingly.
3. Select Widgets to Display on the Dashboard
Take the following steps to add or remove widgets from the Dashboard.
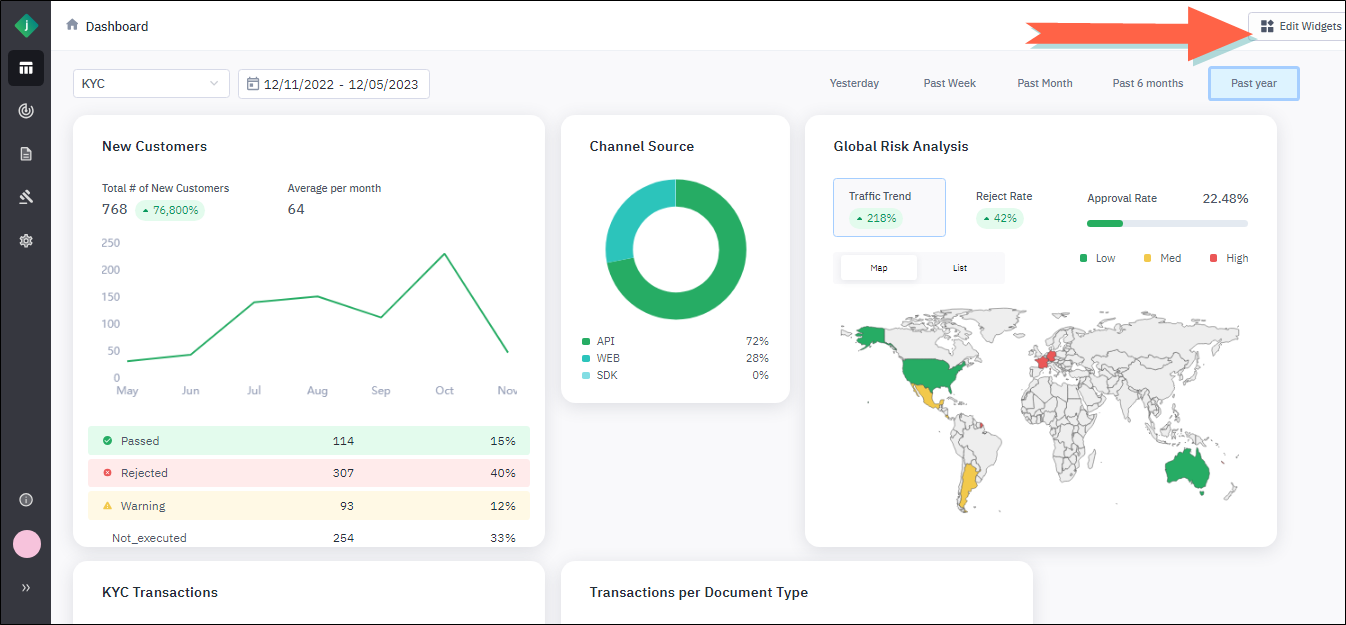
Step 1: From the Dashboard, click Edit Widgets. The Edit Widgets page appears, displaying two widget categories: General and Identity/KYC
Step 2: To expand a category of widgets click the arrow to the right of the category name. A dropdown list of that category's widgets displays.
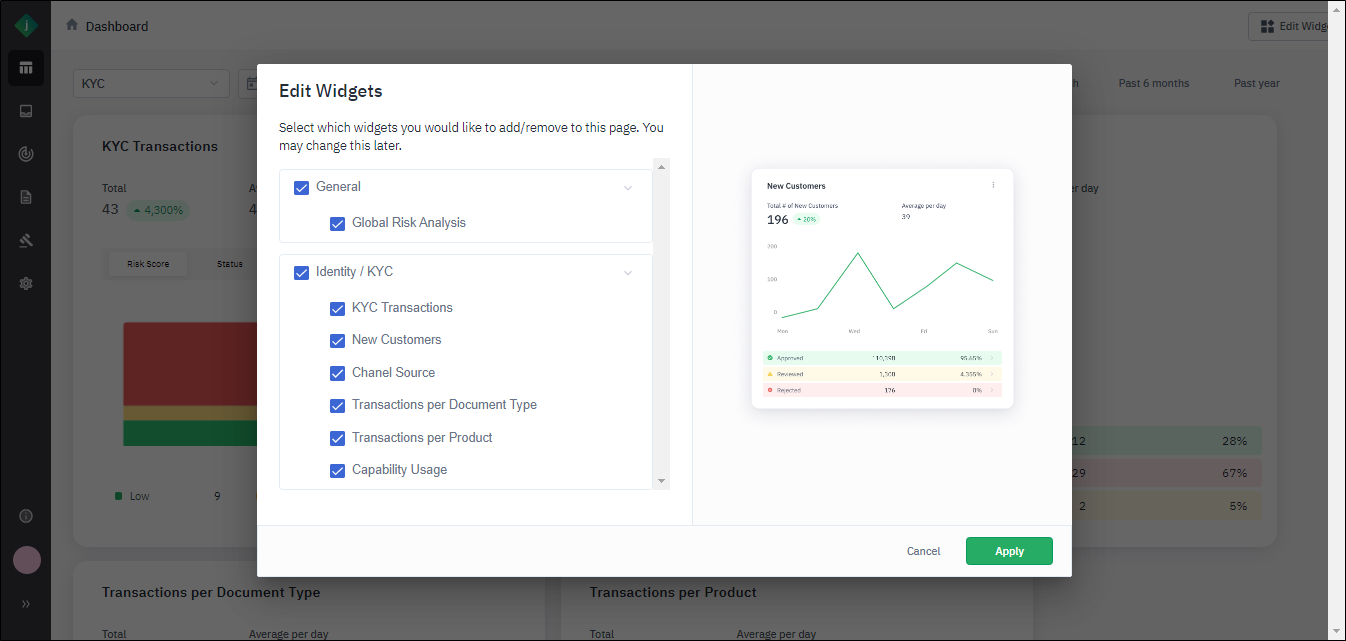
Step 3: Take any of the following actions:
- To add a widget to the Dashboard, select its check box.
- To remove a widget from the Dashboard, clear its check box.
- To add all of a category's widgets to the Dashboard, select the check box next to the category name.
- To remove all of a category's widgets from the Dashboard, clear the check box next to the category name.
Step 4: Click Apply.
To view a preview of a widget, click in the white space to the right of its name.